Today, we will learn how to create our chat playground using Azure OpenAI. This session will cover the steps required to set up your environment, deploy your custom ChatGPT model, and utilize various features to interact with your AI assistant effectively. By the end of this tutorial, you will be able to configure, manage, and leverage the capabilities of Azure OpenAI to create a personalized chat experience.
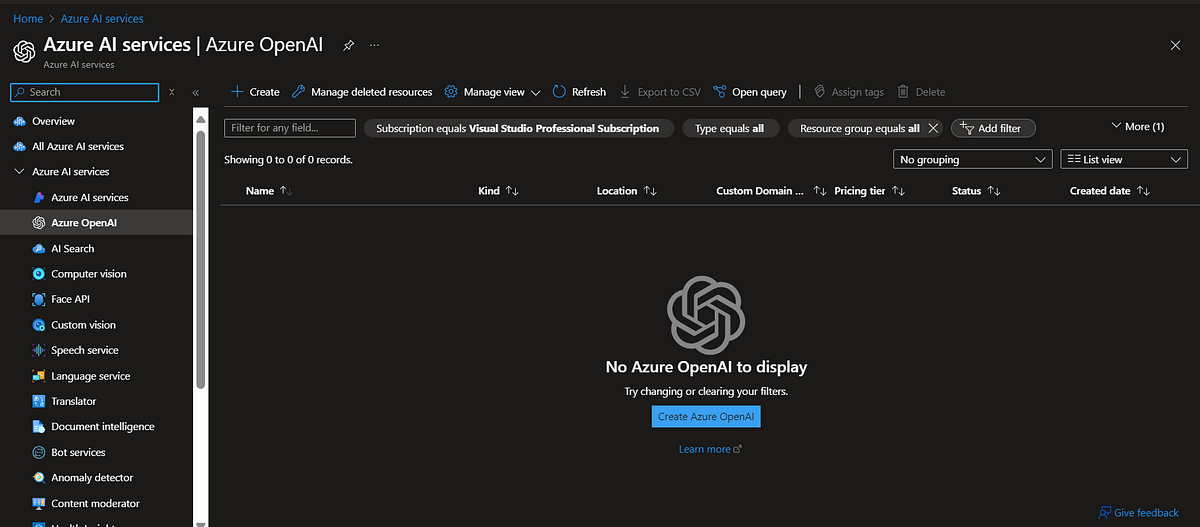
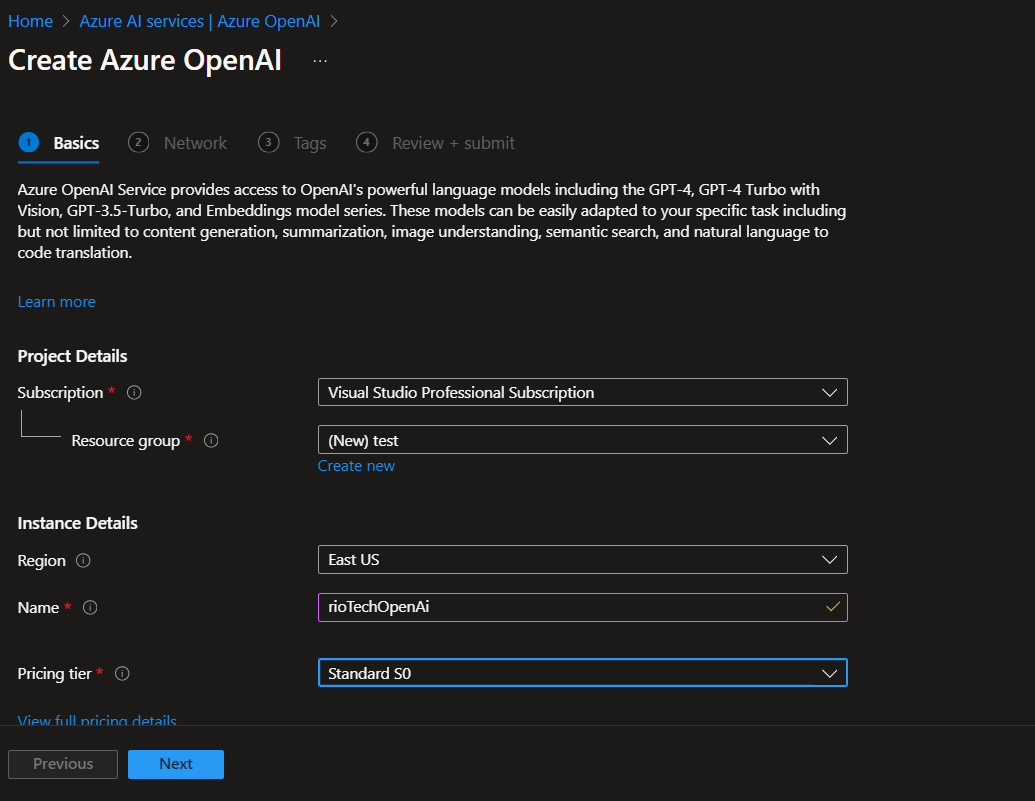
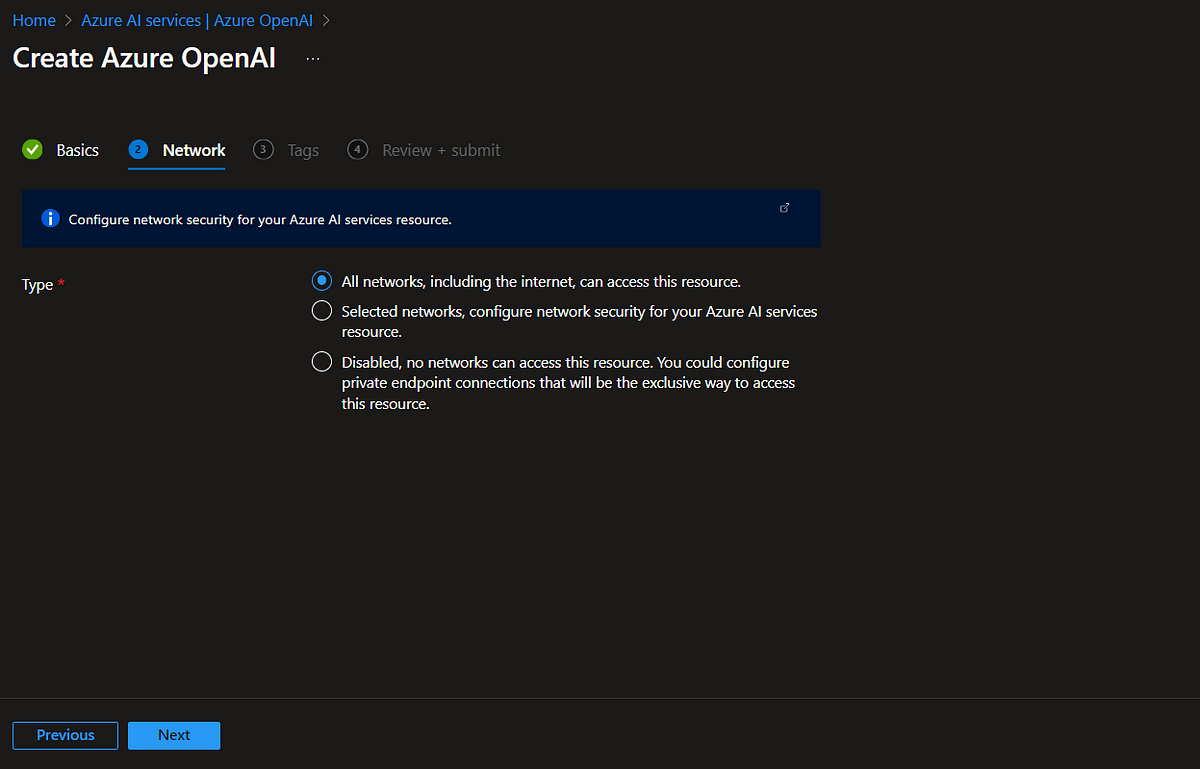
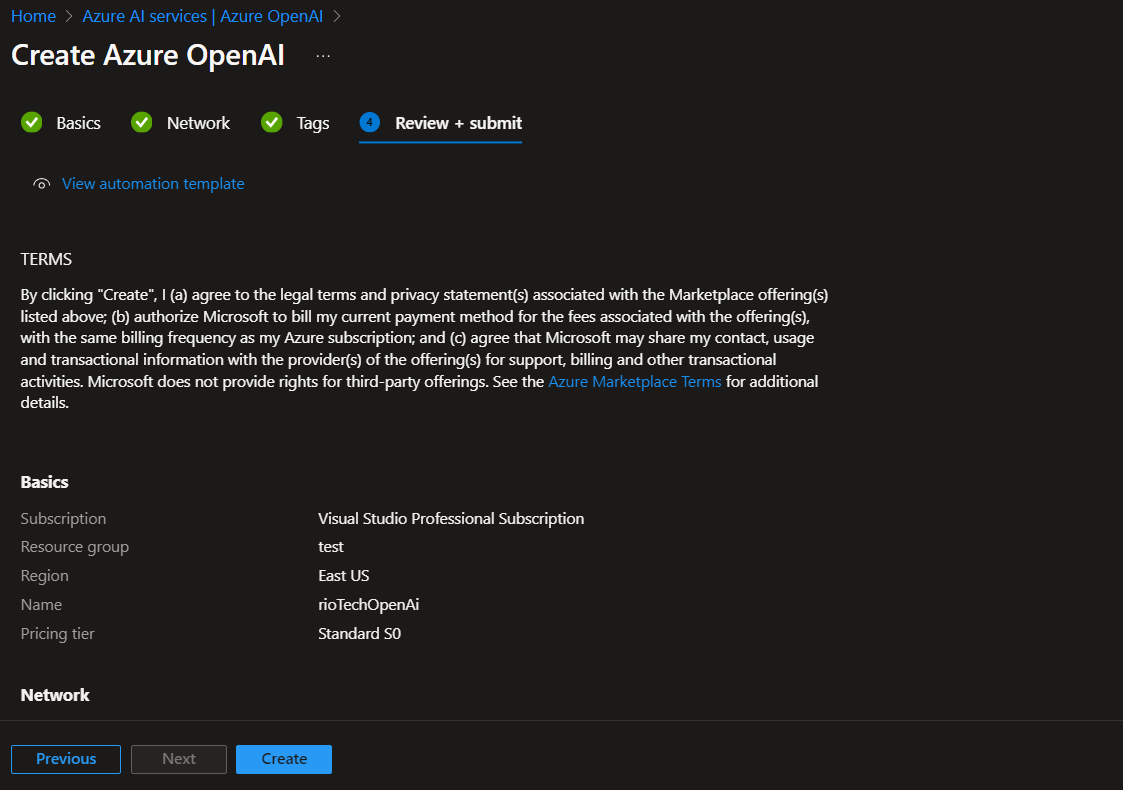
First, open your resource OpenAI. Then create your own OpenAI and deploy it.
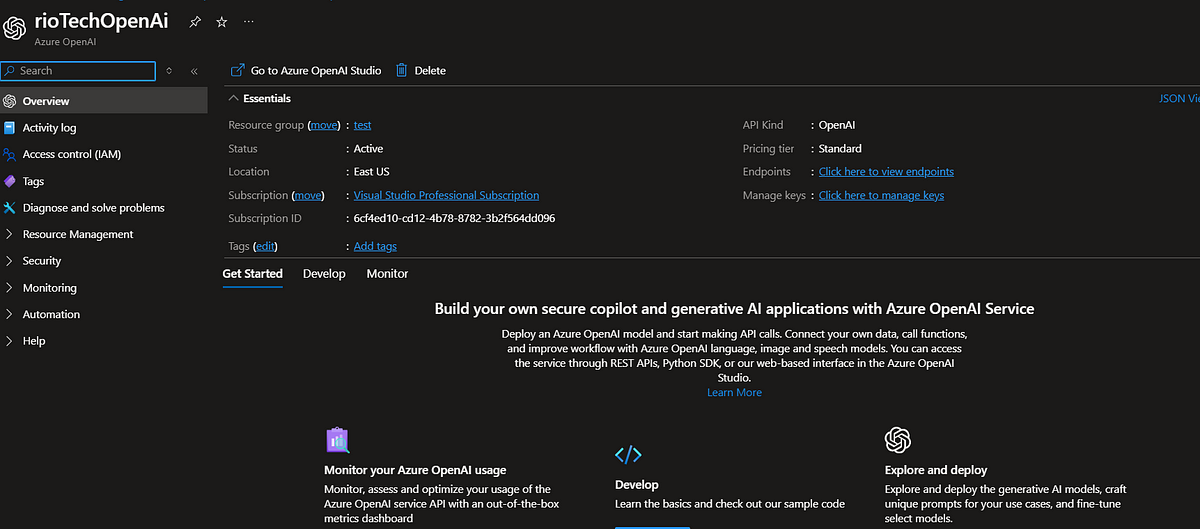
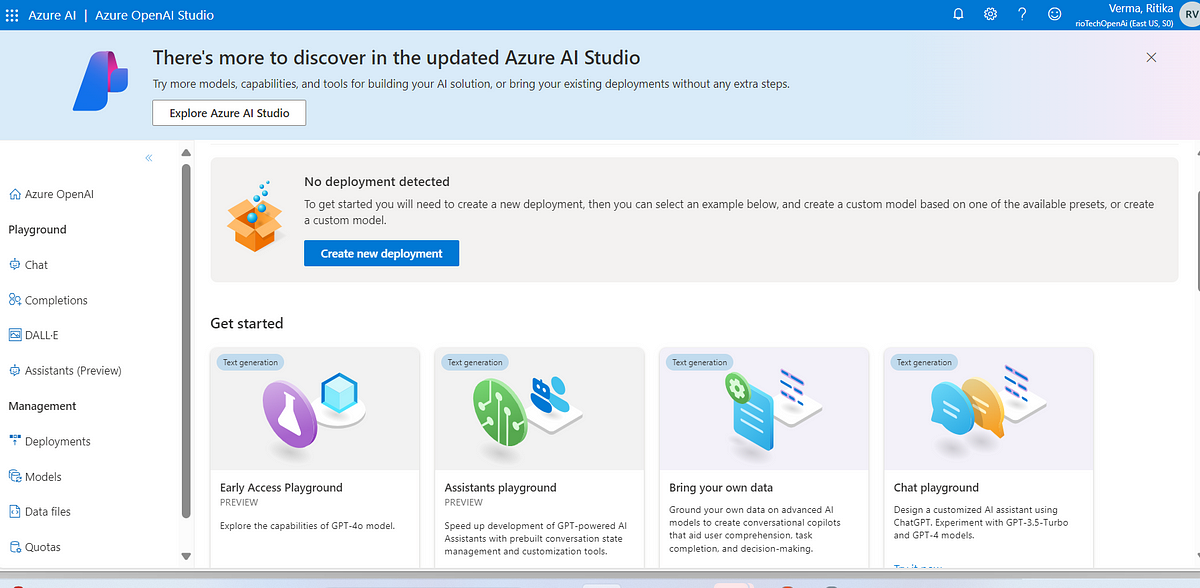
Then click on “Go to Azure OpenAI Studio” and you will be on your Azure OpenAI Studio page.
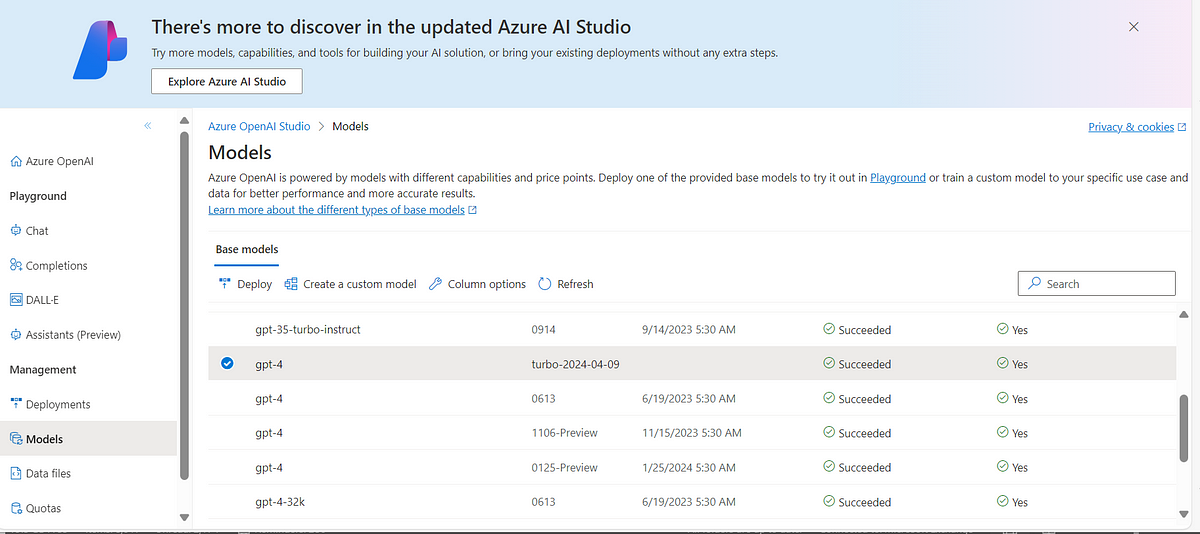
Then you need to select the Model that you want to deploy. You can also check the Open AI service pricing model link. It will give you in-depth knowledge of the Pricing of each model.
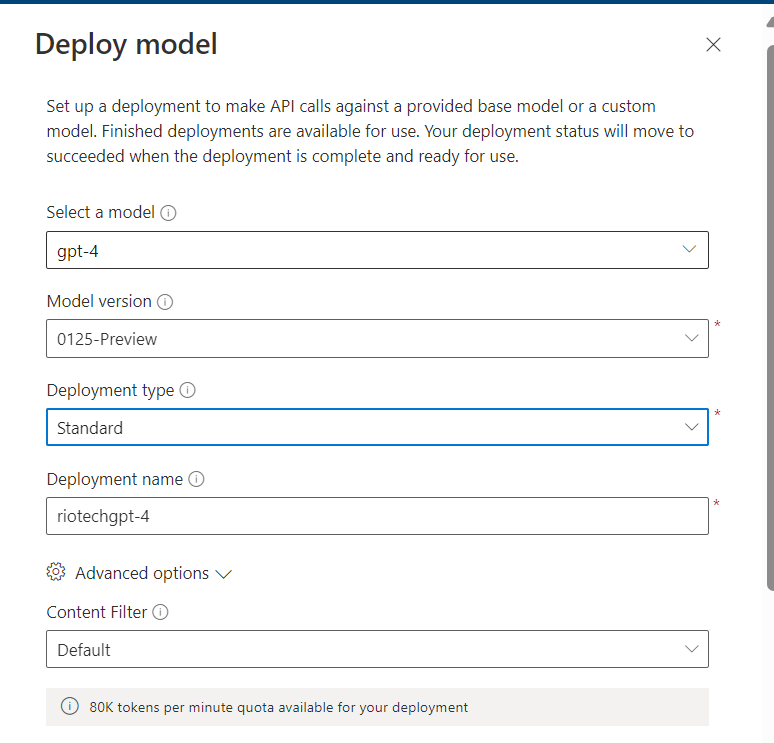
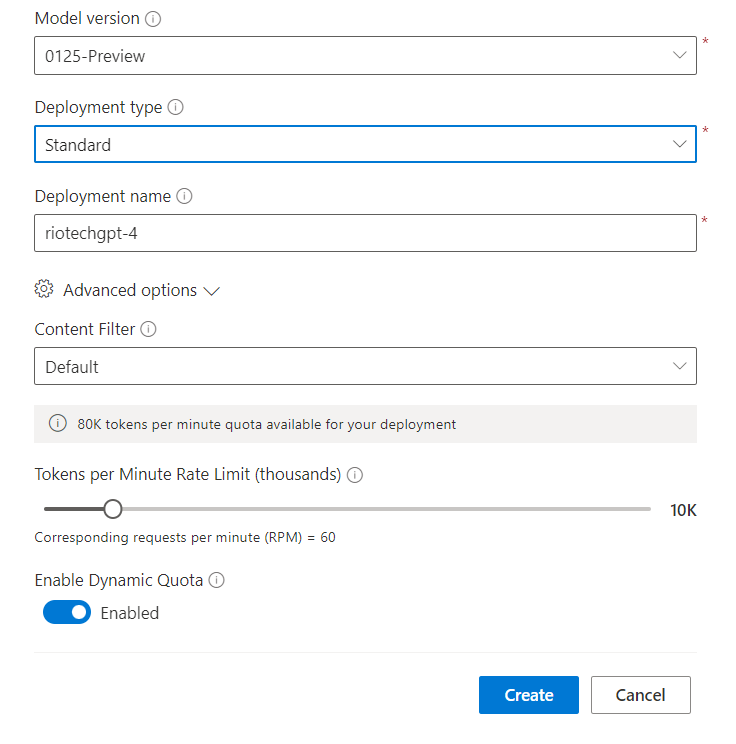
Select the model and click on “deploy”.
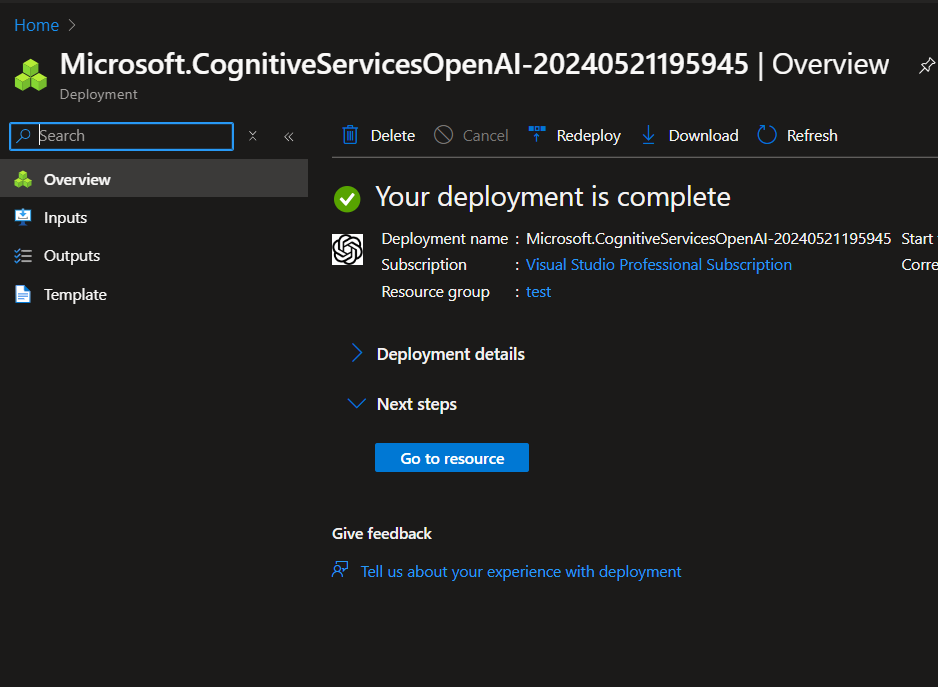
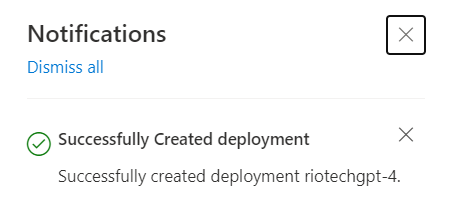
You will receive a notification that deployment is successful.
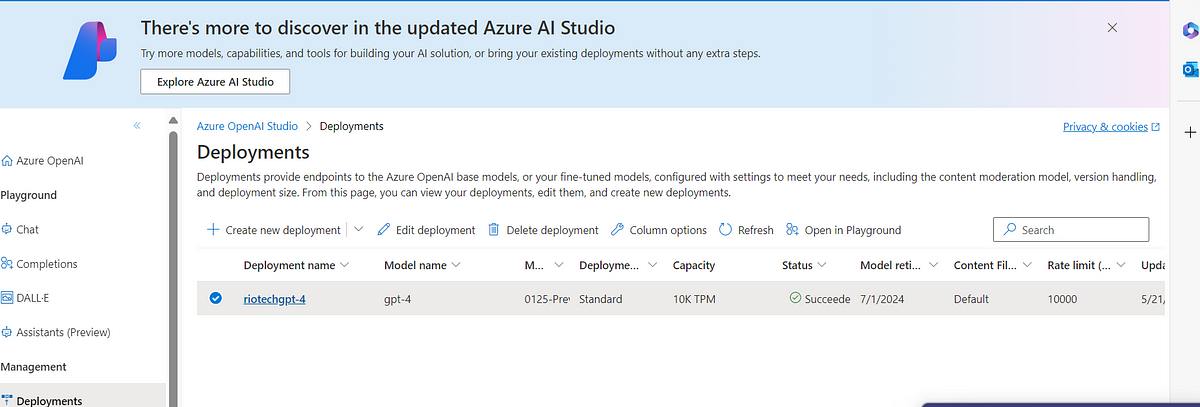
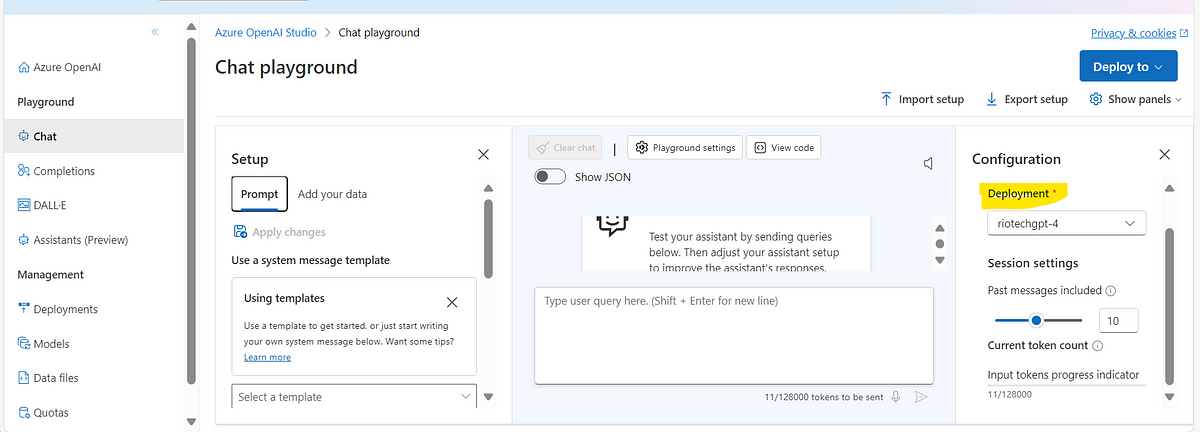
Proceed to the Chat Playground and navigate to the Deployment section, where you will see your personalized ‘ChatGPT model’ selected. You have two options for interaction:
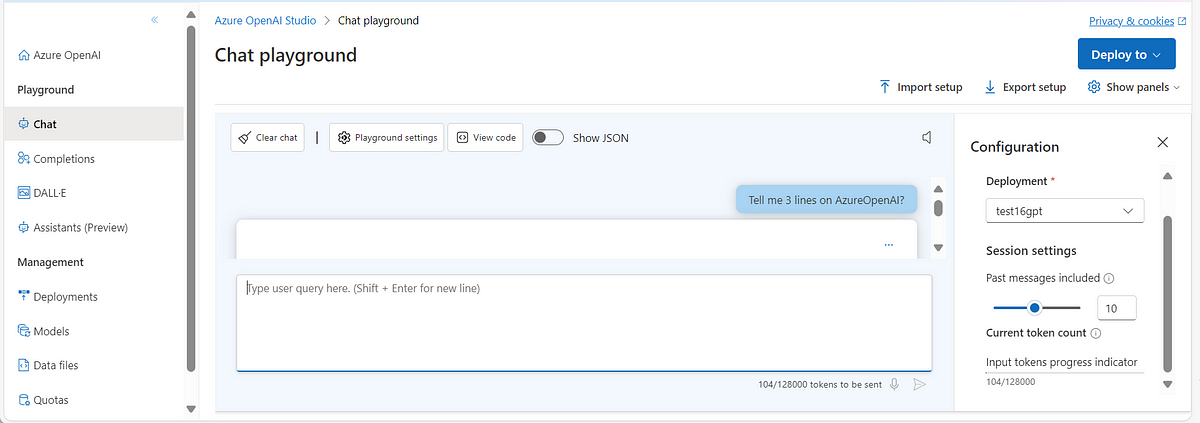
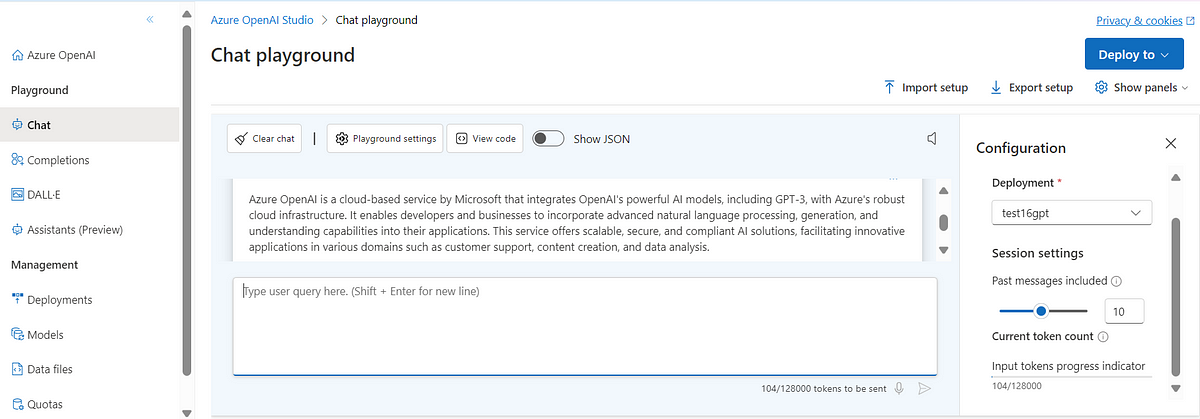
- In the ‘Prompt’ field, you can input any question or request, and your AI assistant will generate a response accordingly.
- In the ‘Add Your Data’ section, you can upload your data. Subsequently, you can query your AI, and it will generate responses based on the provided data.
Thanks for stopping by! Your visit means a lot. Please Follow me😊 Stay tuned for more content. Exciting stuff coming your way soon! 🚀 #StayTuned. Also, visit on RioTech.
Comments
Post a Comment