Hi there! 😊👐🏻 Today, I created my first Azure Data Factory project. In this project, I’m moving a file within the storage account from one container to another.

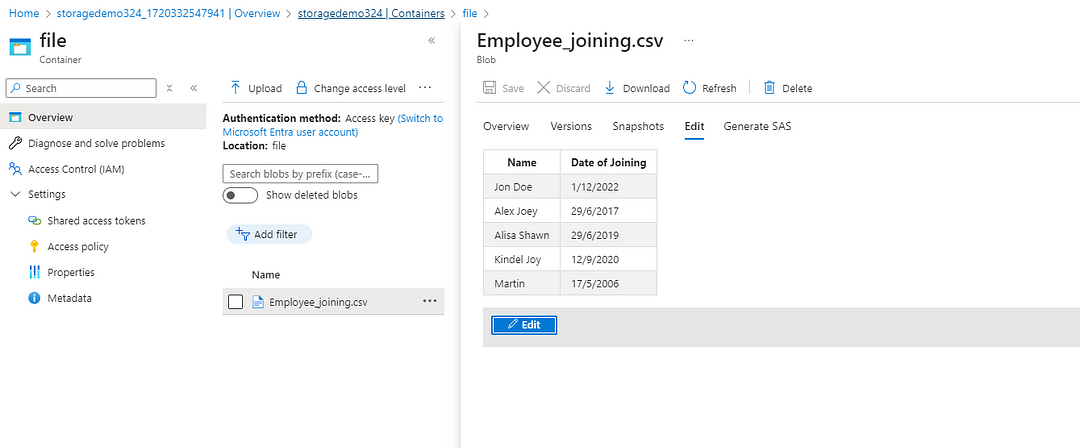
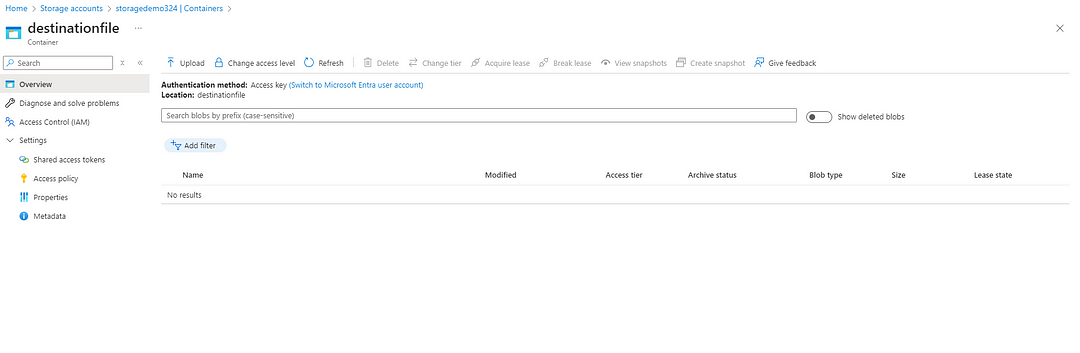
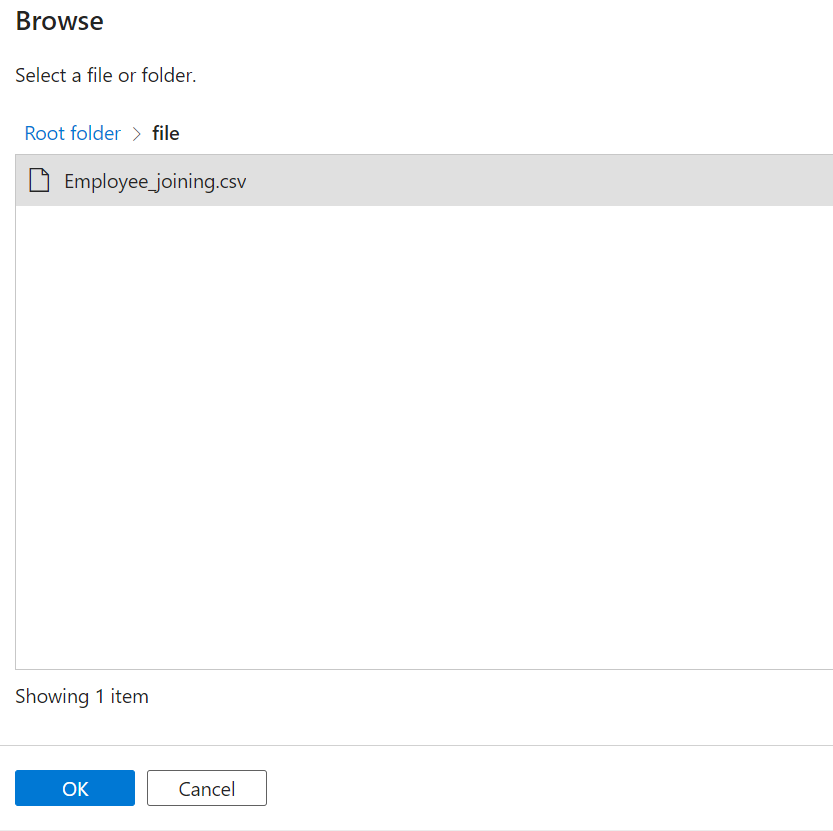
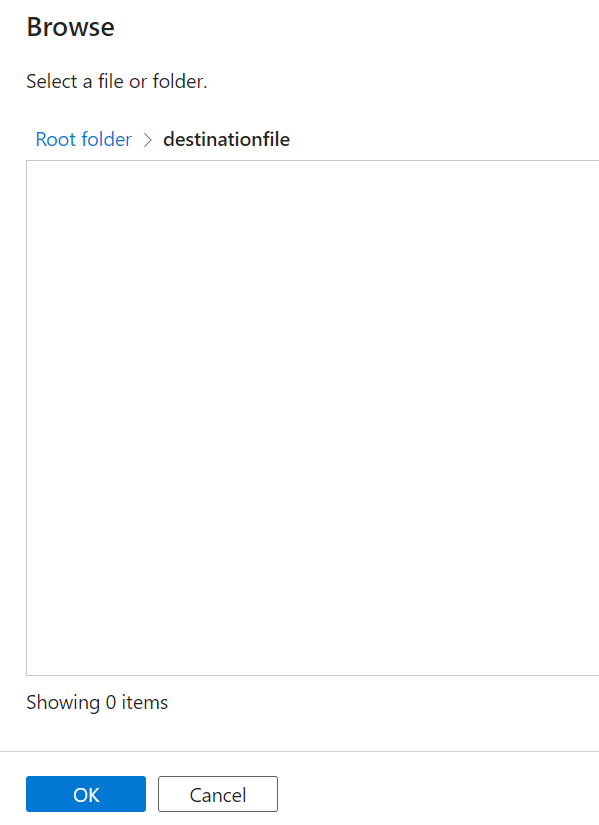
First , I created the Storage Account, which are also detailed in my earlier blog post, ‘How to Create a Storage Account in Azure from Scratch’. Then, I created two containers: ‘file’ and ‘destinationfile’. The CSV file stored in the ‘file’ container is the one I want to move to the ‘destinationfile’ container.”
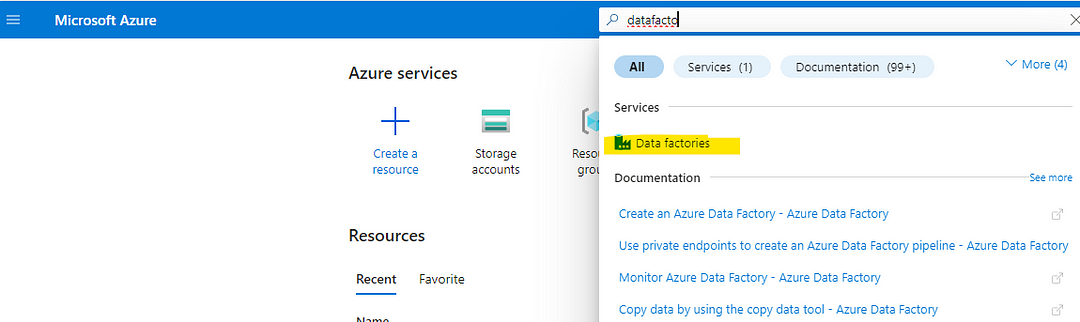
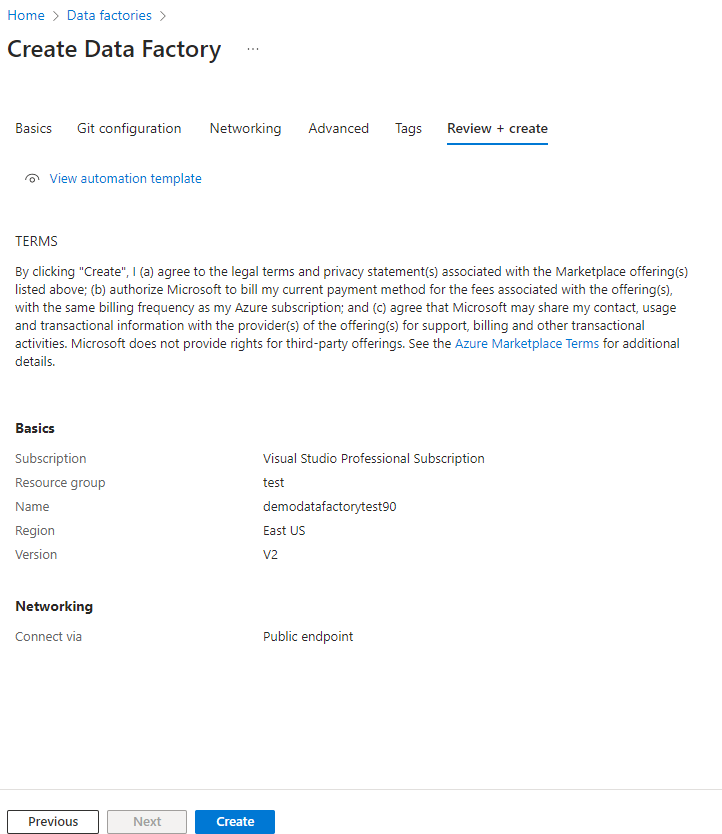
Now I have researched data factories and created the Azure Data Factory.
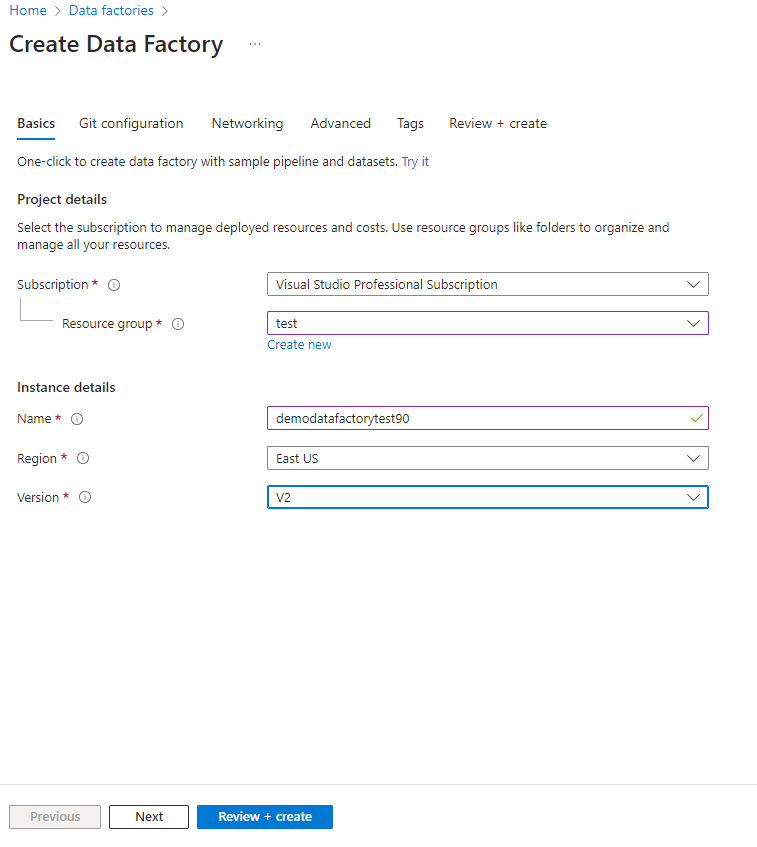
In the ‘Basics’ section, fill in the required details and leave the rest as default.
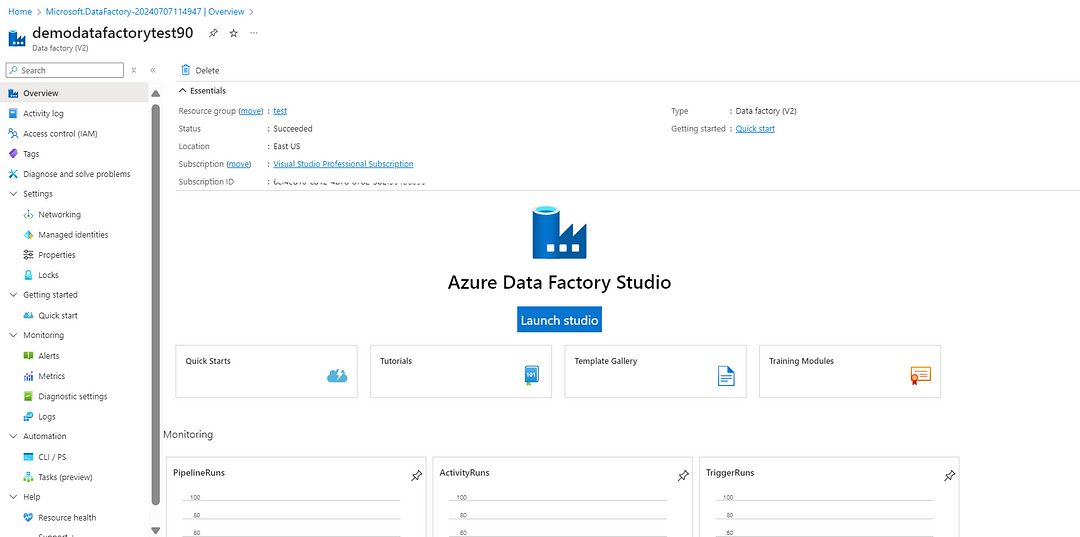
Next, select ‘Launch studio,’ which will take you to the Azure Data Factory Studio.
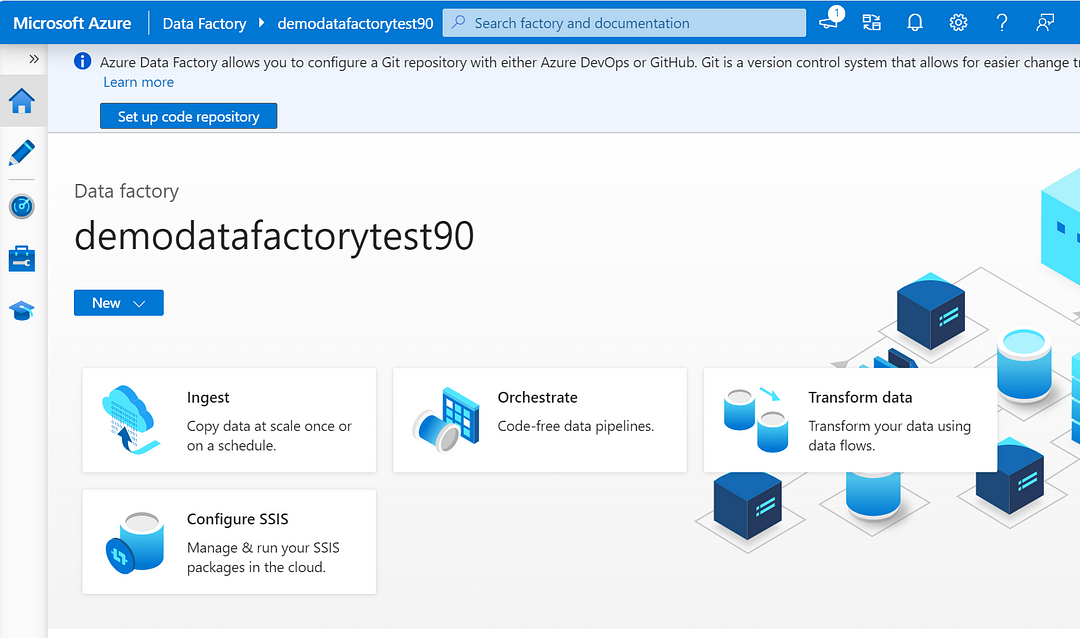
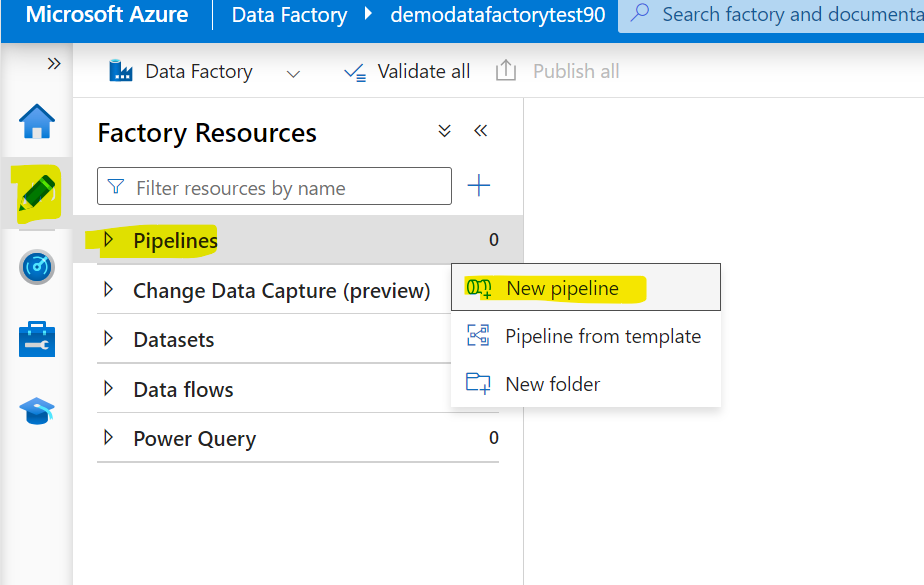
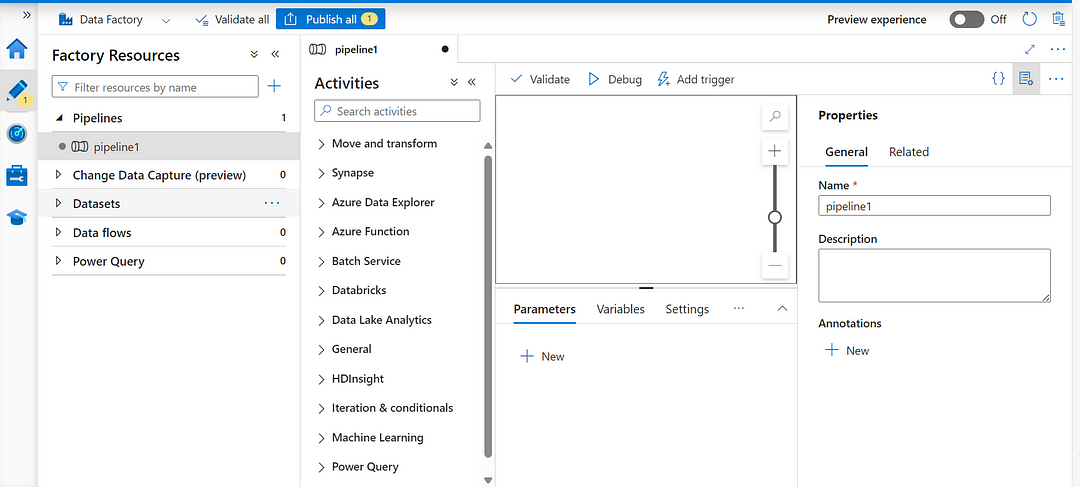
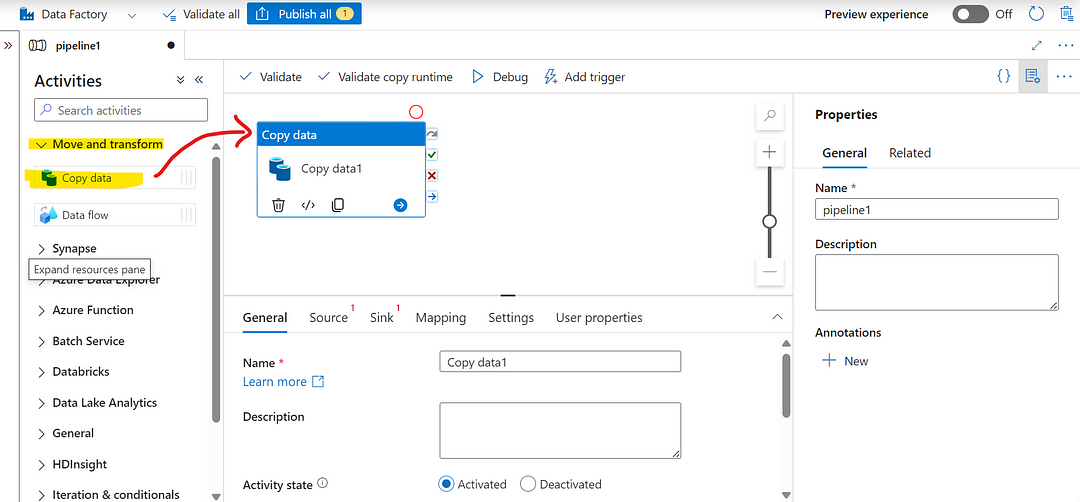
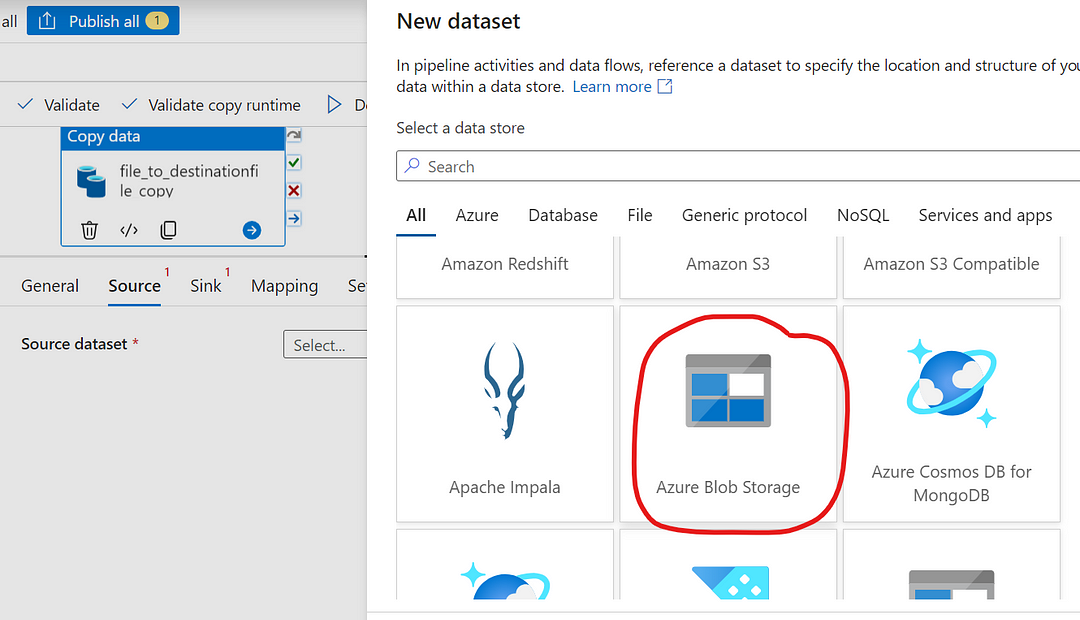
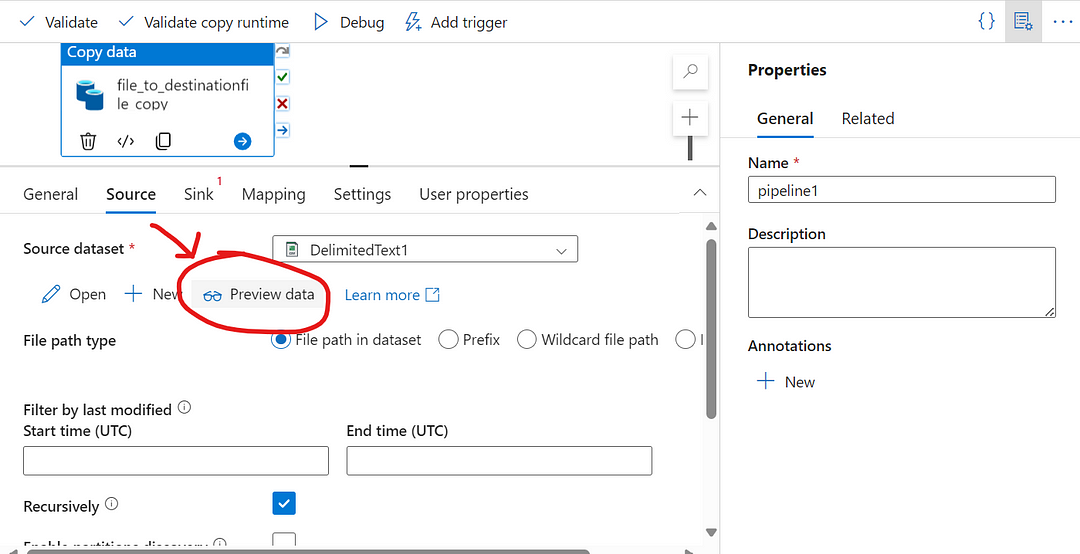
Now, in the Author section, I created a new pipeline and selected the ‘Copy data’ activity as per my requirements.
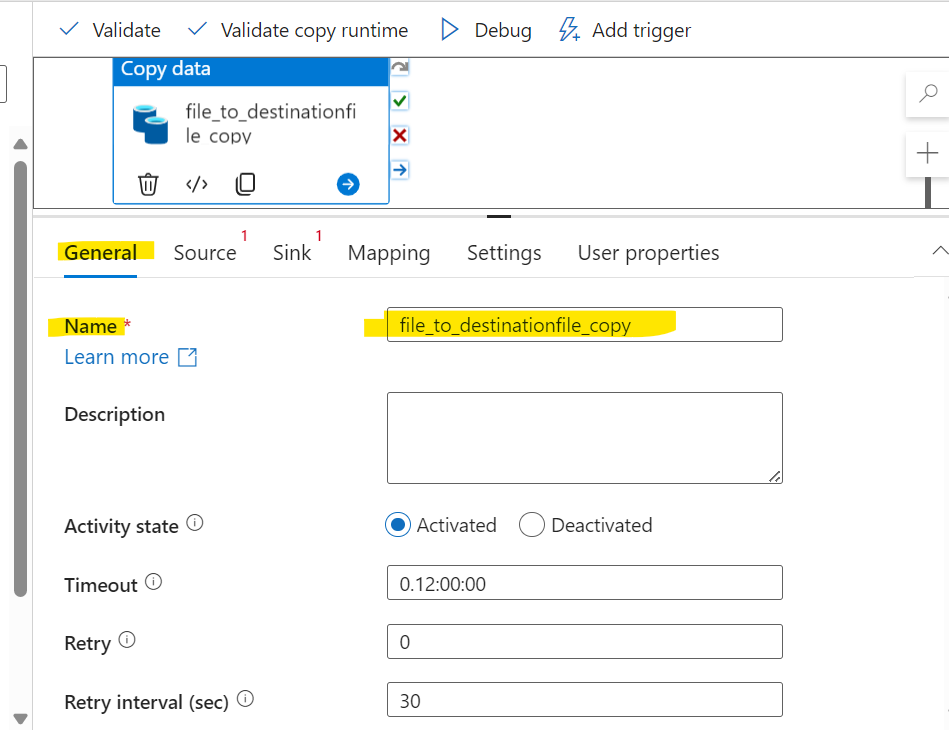
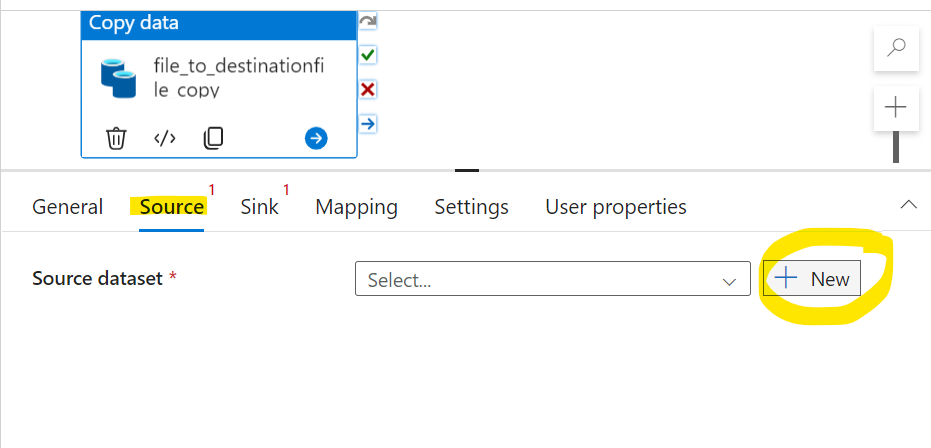
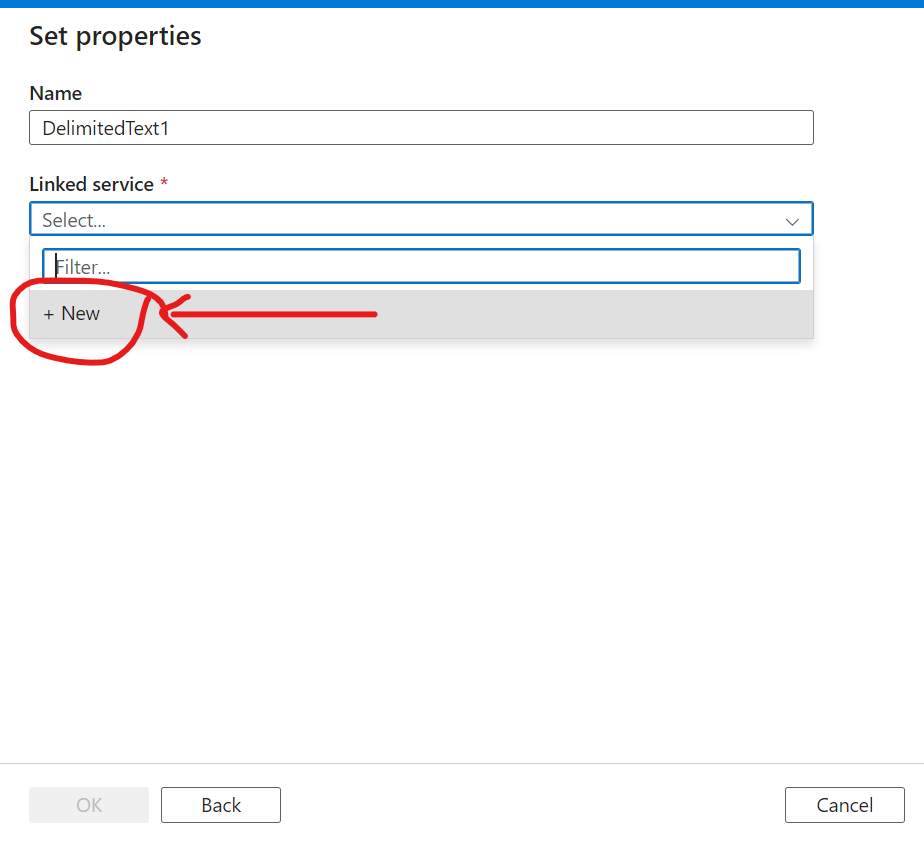
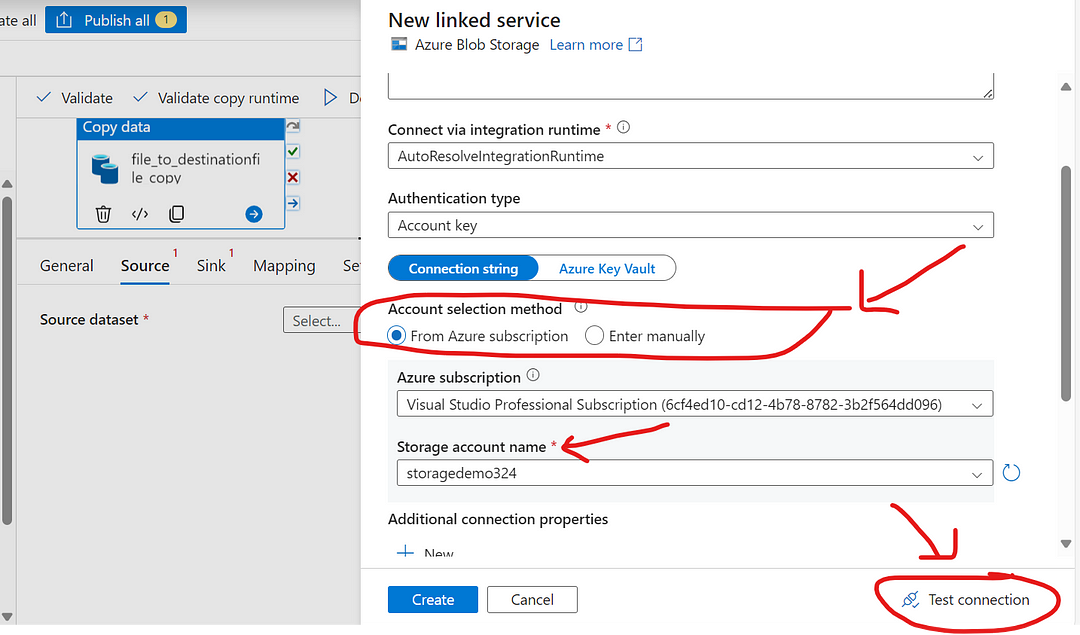
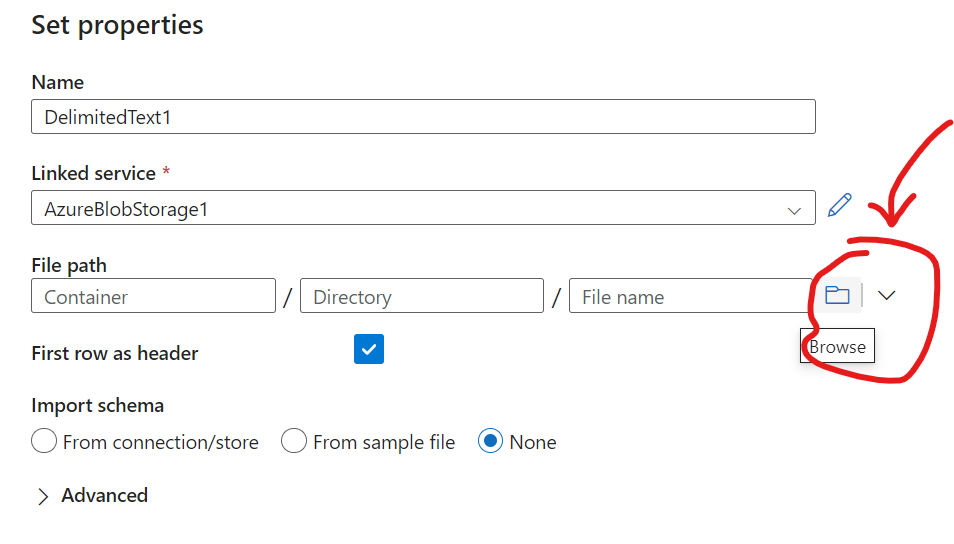
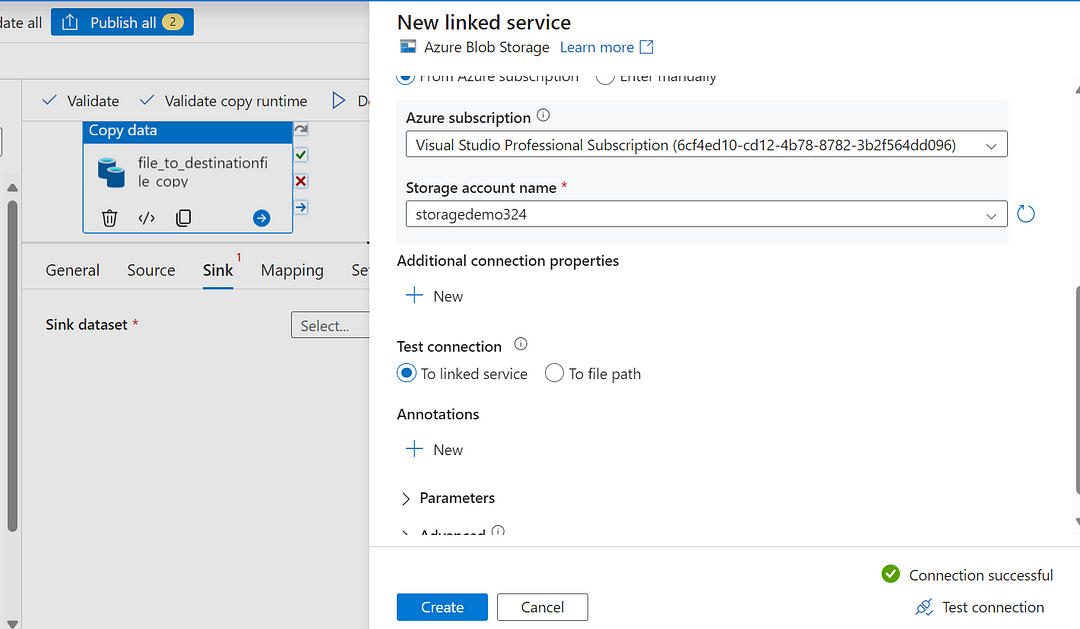
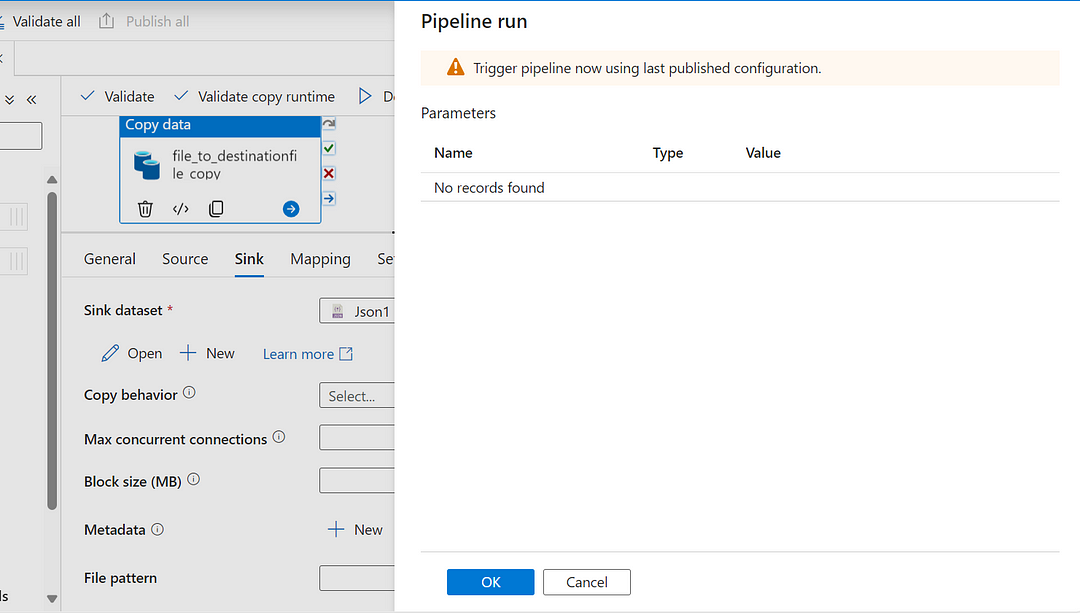
Then, I filled in the details for ‘General’, ‘Source’, and ‘Sink’. For ‘Source’ and ‘Sink’, I linked them to my storage account.
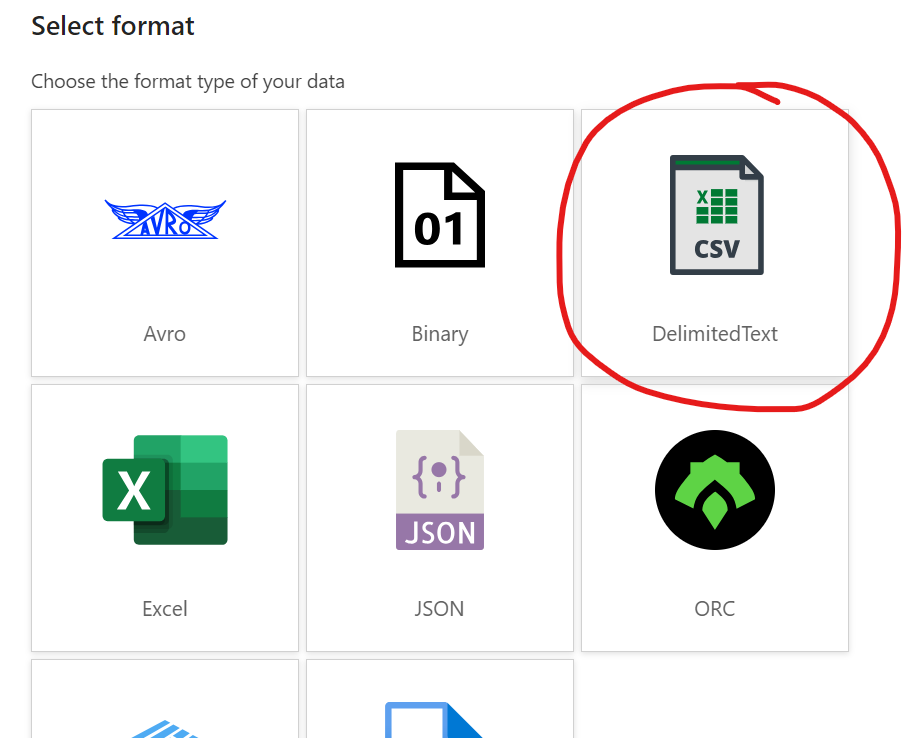
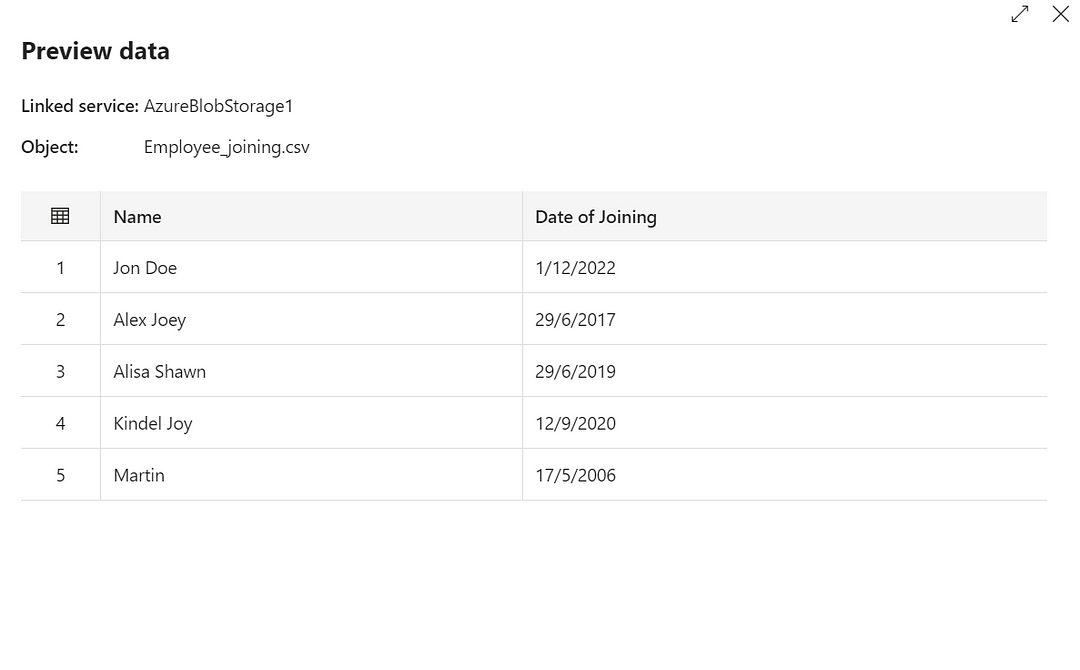
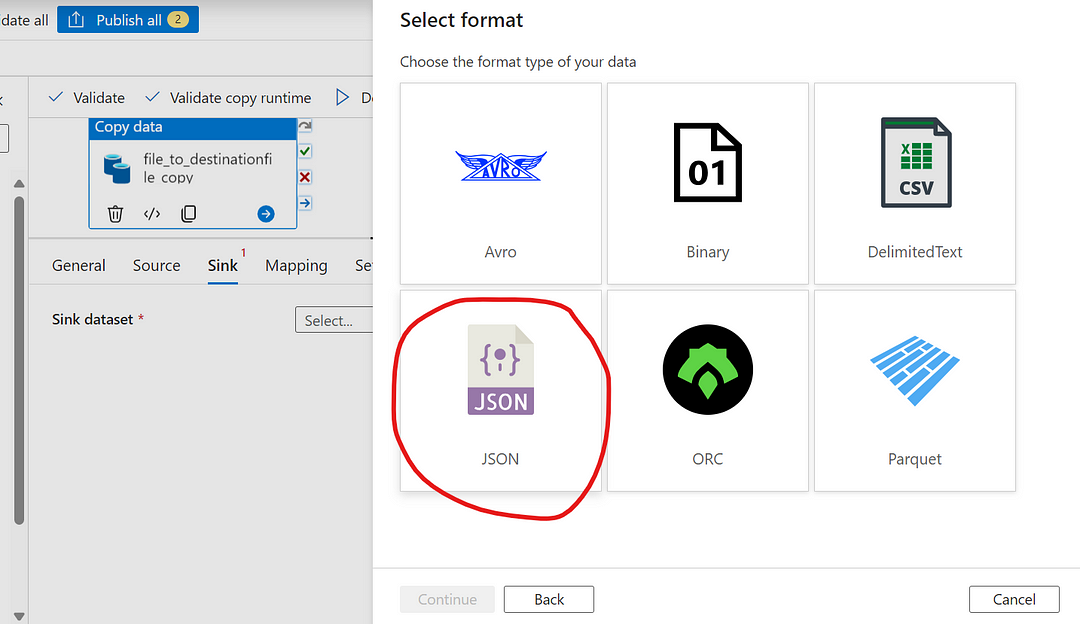
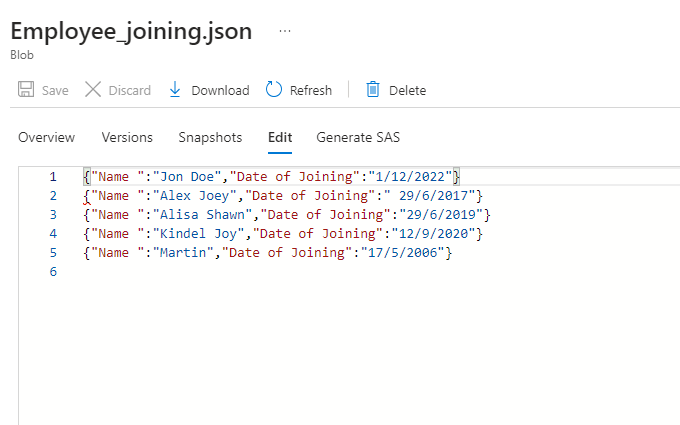
I want my CSV file to be converted to JSON format when it moves to the destination container.
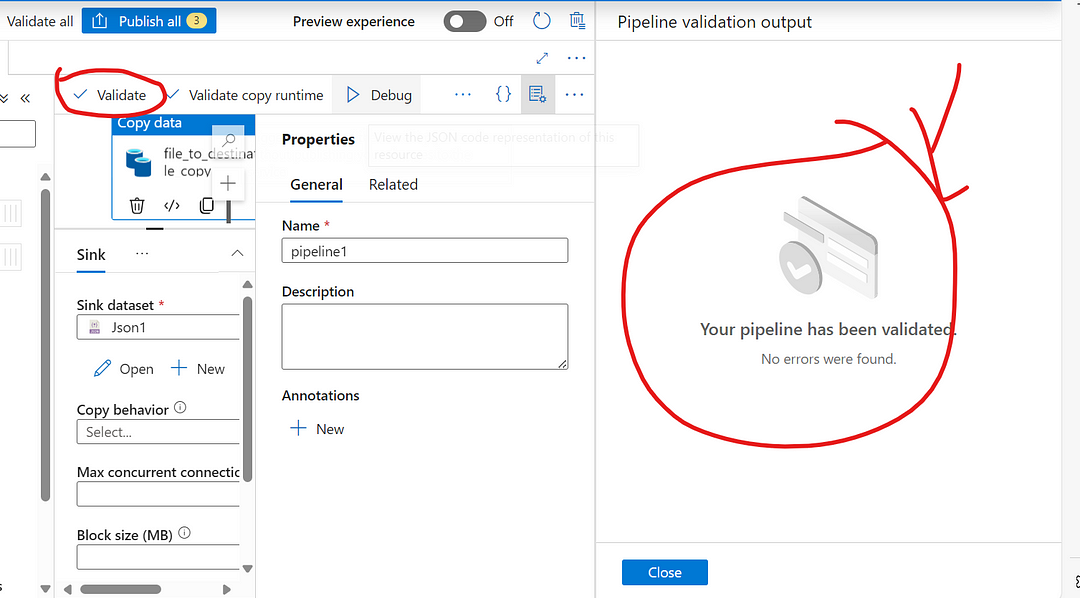
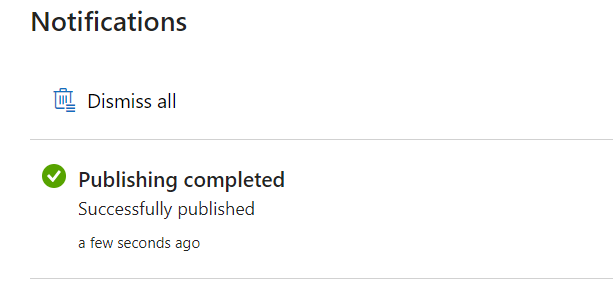
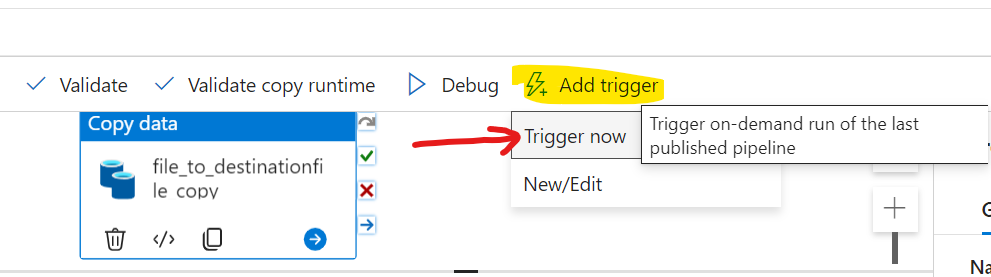
After setting up all the details, select ‘Validate’ to check for any errors. Once validated, publish the setup successfully. Then, click the ‘Add Trigger’ button and manually trigger the pipeline.

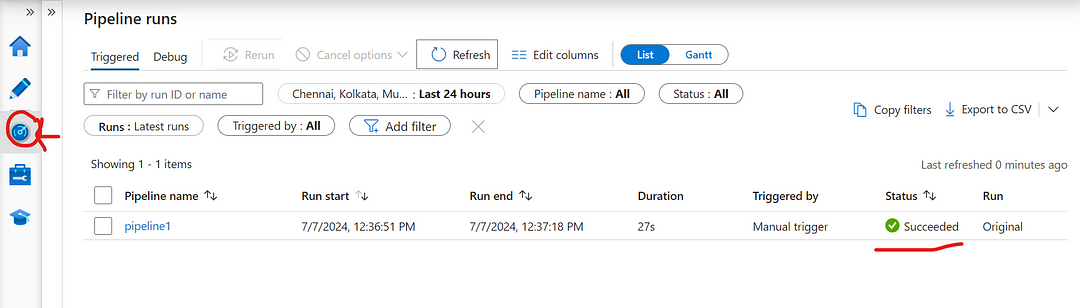
As a result, the status is displayed as ‘Succeeded’.
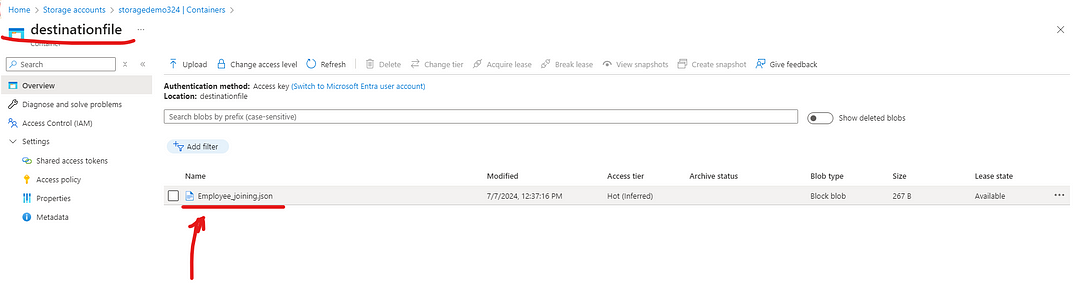
I have now reached the ‘destinationfile’ where I wanted to upload my file. It is displayed in JSON format, and we can see the expected result.
Thanks for stopping by! Your visit means a lot. Please Follow me😊 Stay tuned for more content. Exciting stuff coming your way soon! 🚀 #StayTuned. Also, visit on RioTech.
Comments
Post a Comment