Hi everyone, so today I thought to share with you how Azure Storage helped me in hosting my blog website.
So first, you have to create an Azure storage account.
For that, you can check how to create an Azure storage account to complete the process.
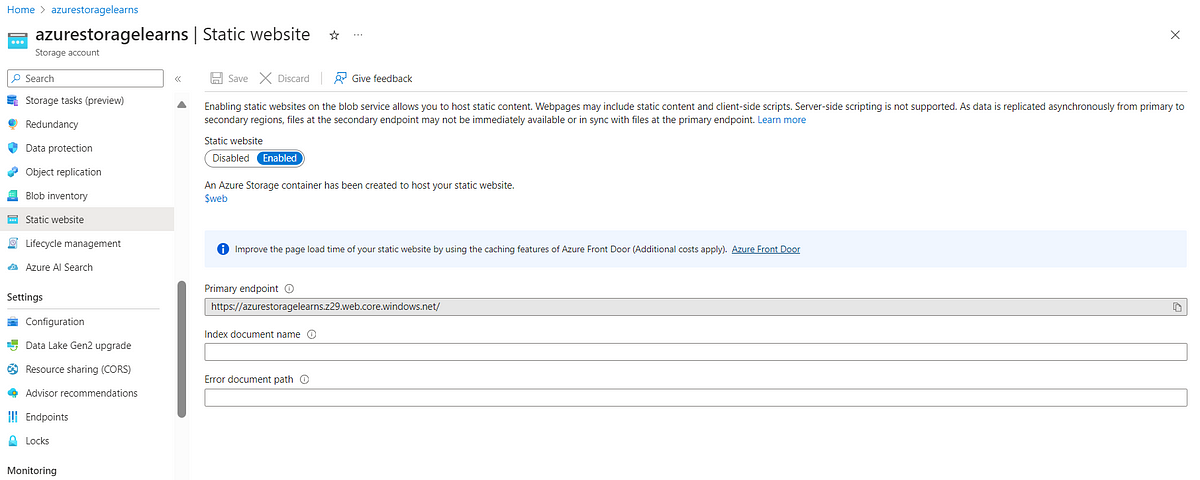
Step 1. After creating an Azure storage account under the data management section we to have select a static website.

Step 2. Under the static website, we have to select $web.
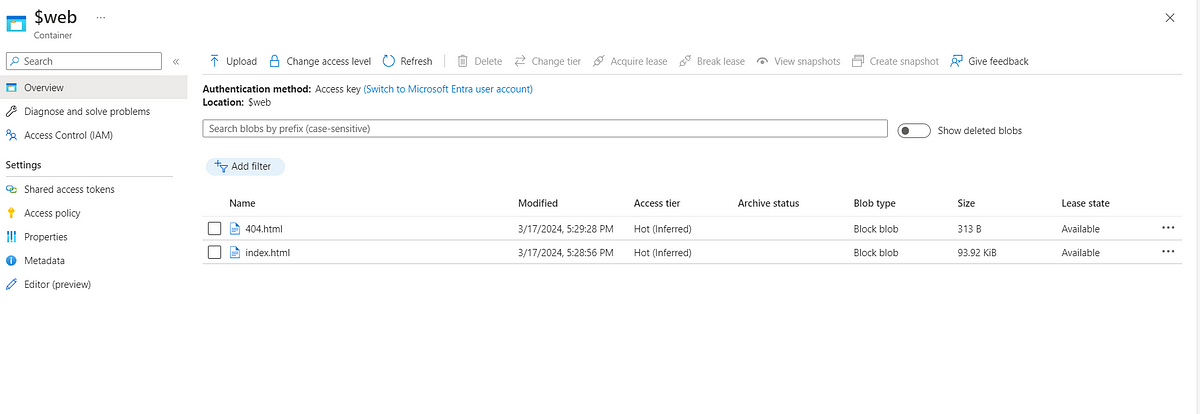
Step 3. To upload your HTML file, navigate to the $web section. I have uploaded two files here. The first file, “index.html,” contains my website page, which will be displayed when someone visits my website. The second file, “404.html,” is used to display a 404 error message.
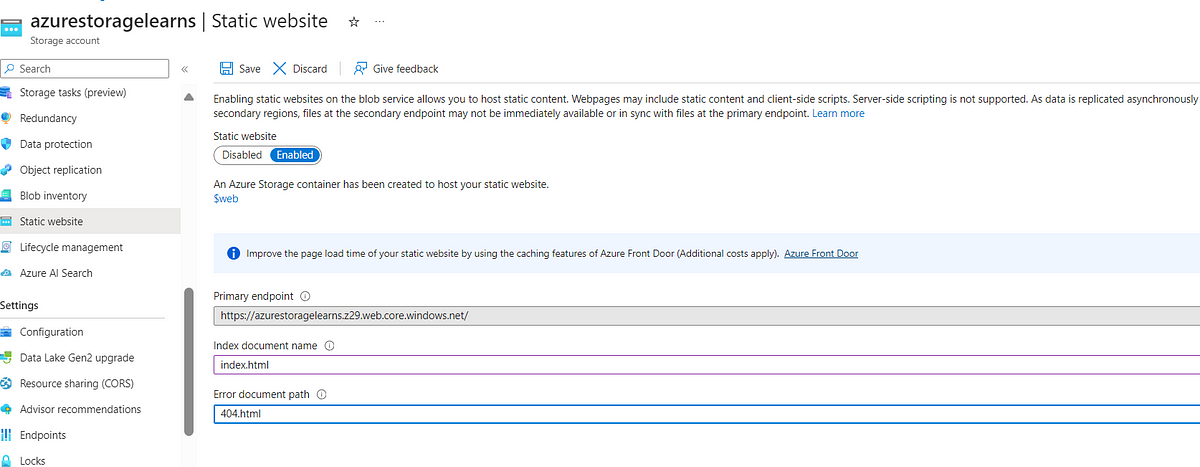
Step 4. Now here you have to give the file names that you have uploaded in the $web folder. And copy the URL showing in the Primary endpoint.
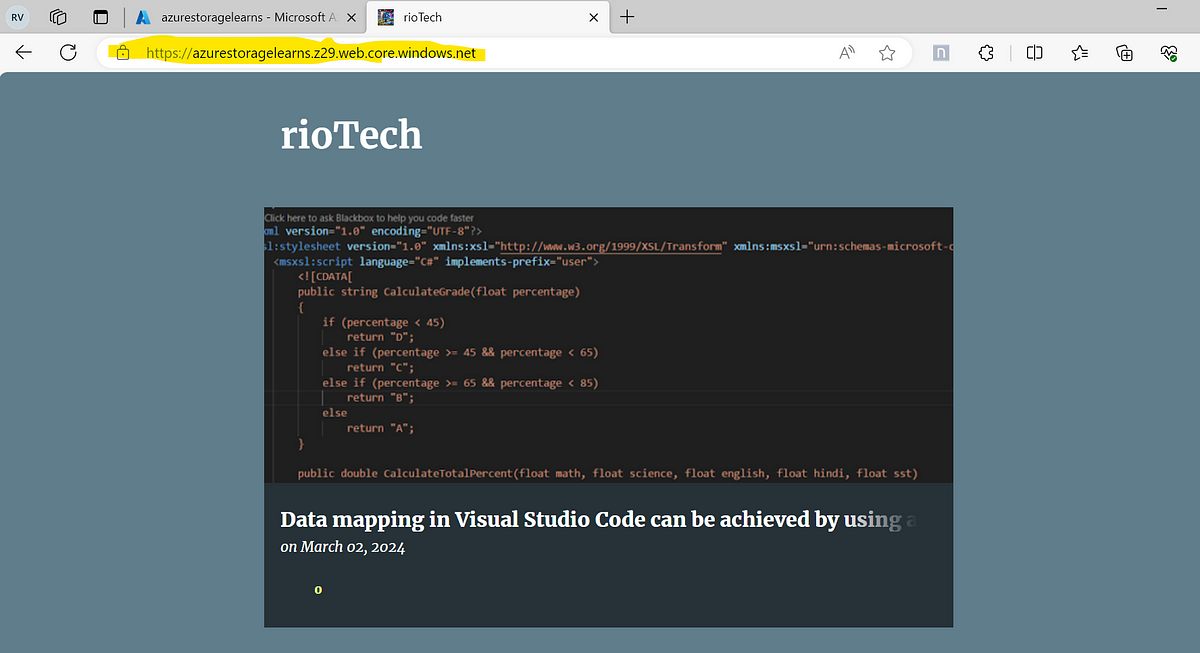
Step 5. Finally, open a new tab and paste the URL to view your website. For example, this is my blog website “rioTech”, and we can see it displaying my blog website.
Comments
Post a Comment