Hi Everyone! 😊👐🏻, Love you see you again😀today we will learn how we can trigger Logic App through APIM.

In today’s digital landscape, automation is key to enhancing efficiency and productivity. Microsoft Azure provides robust services to help streamline business processes. Among these, Azure Logic Apps and Azure API Management (APIM) stand out. In this blog post, we will explore how to trigger a Logic App through APIM, enabling seamless integration and automation within your applications.
What is Azure API Management?
Azure API Management (APIM) is a turnkey solution for publishing APIs to external and internal customers. It provides essential tools to manage and secure your APIs, ensuring consistent and compliant API behaviors.
Why Trigger Logic App through APIM?
Triggering a Logic App through APIM combines the strengths of both services, providing several benefits:
- Enhanced Security: By using APIM, you can secure your Logic Apps with authentication and authorization.
- Rate Limiting and Quotas: Control the usage of your Logic Apps with rate limiting and quotas, ensuring fair use and protecting against abuse.
- Monitoring and Analytics: Gain insights into the usage of your Logic Apps through APIM’s monitoring and analytics features.
- Centralized Management: Manage all your APIs, including those triggering Logic Apps, from a single place.
Step-by-Step Guide to Trigger Logic App through APIM
Step 1: Create a Logic App
- Navigate to the Azure portal.
- Create a new Logic App.
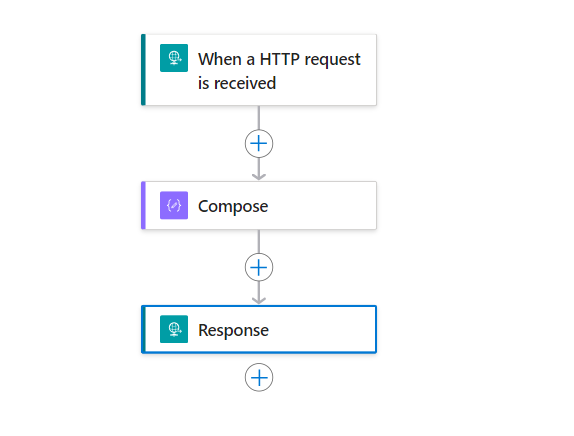
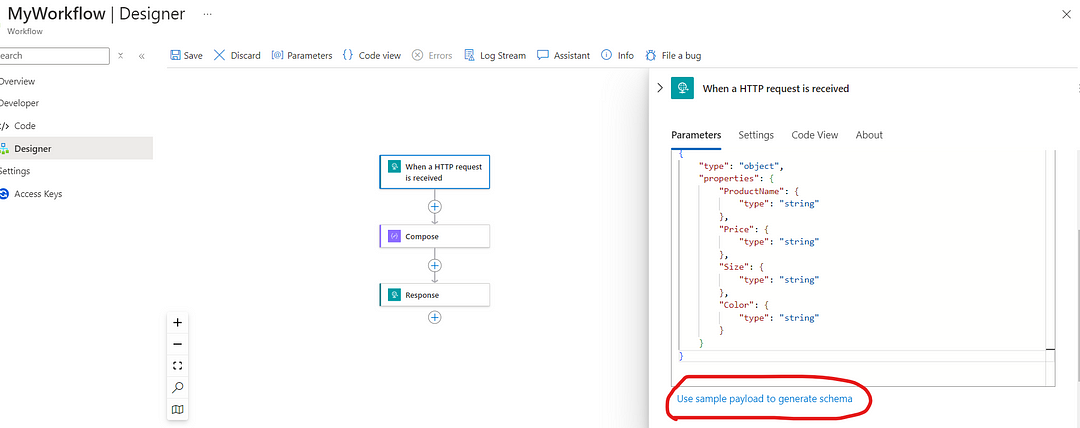
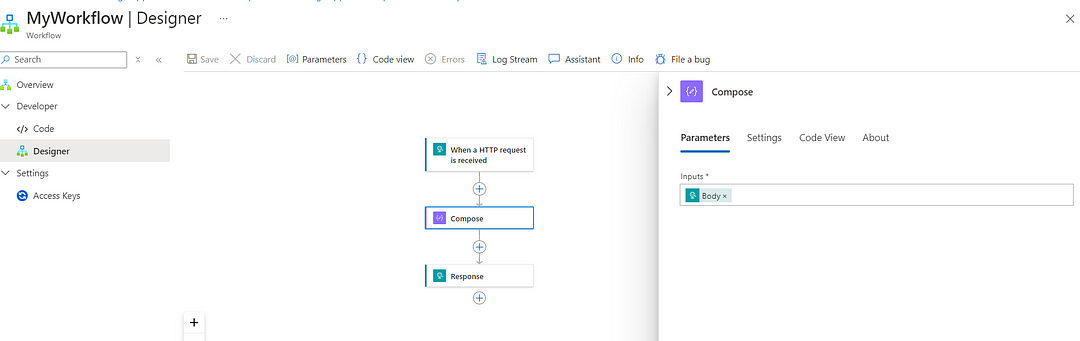
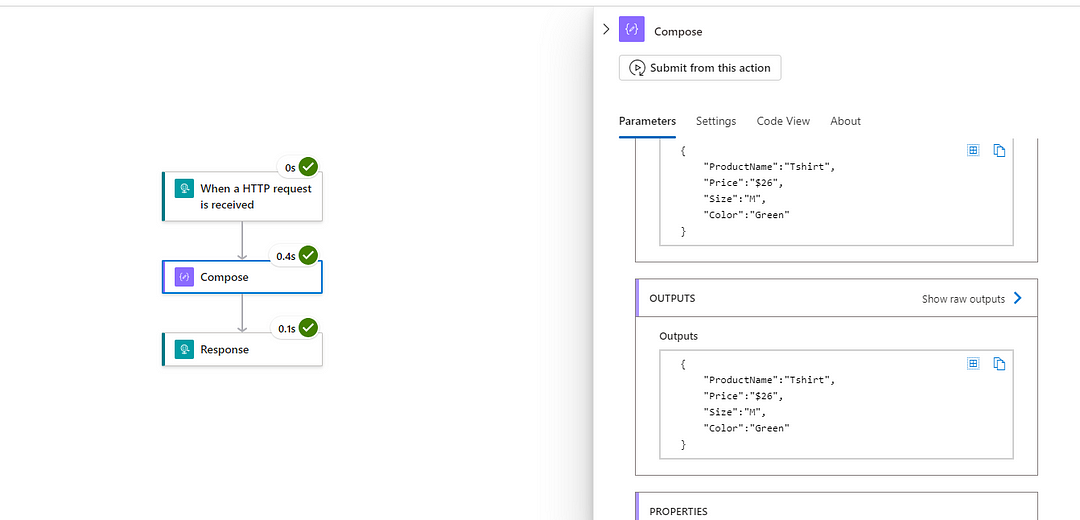
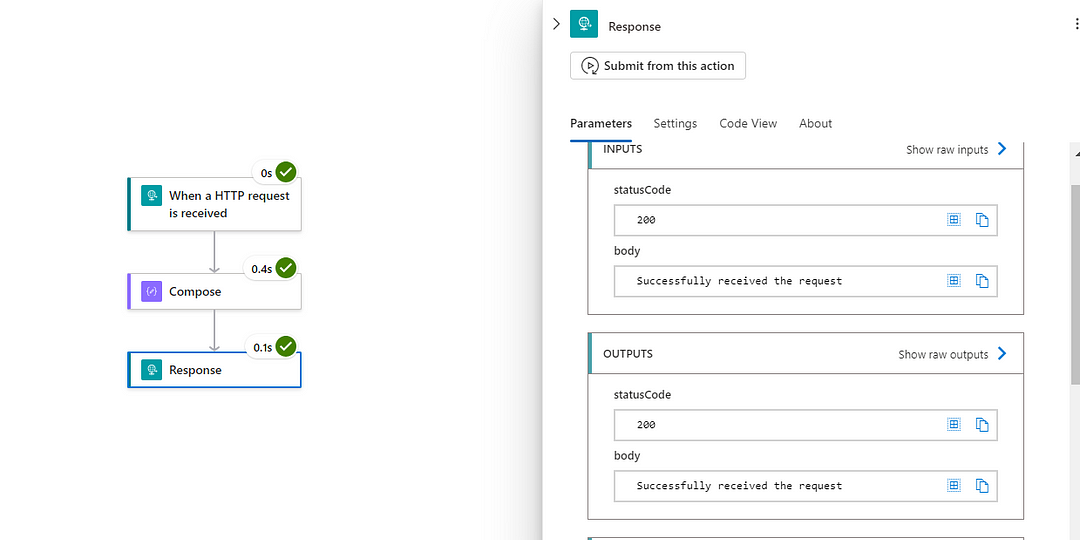
- Design your workflow using the visual designer. For this example, we’ll use an HTTP trigger to start the workflow. Below is my workflow design
{
    "ProductName":"Tshirt",
    "Price":"$26",
    "Size":"M",
    "Color":"Green"
}
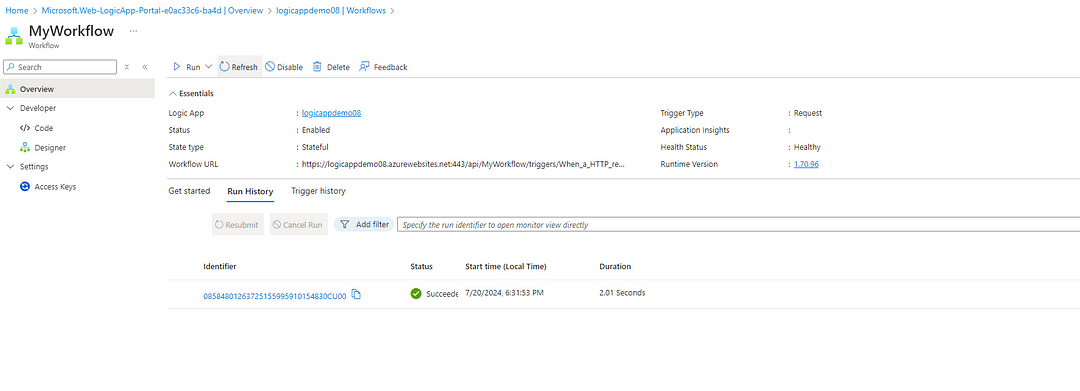
Step 2: Obtain the Logic App’s HTTP Trigger URL
Once your Logic App is created, Go to the “Overview” section and copy the HTTP POST URL somewhere.
Step 3: Create an API in APIM
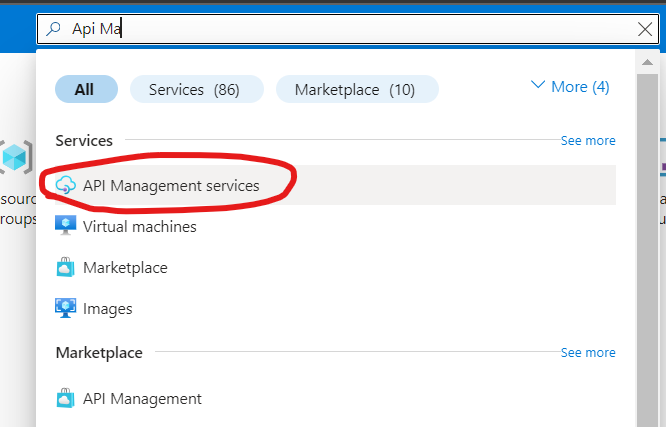
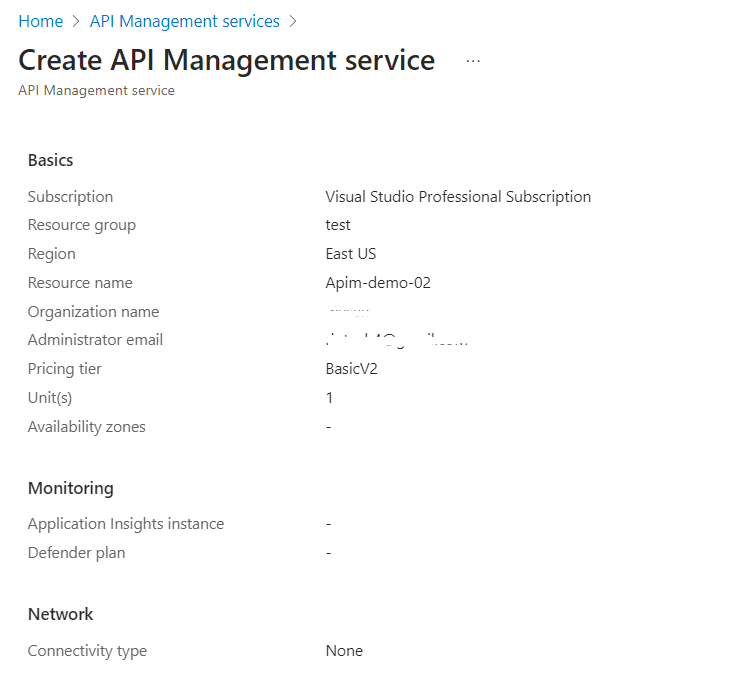
In the Azure portal, create a new API Management service.
Select the API Management services resource and then create you own APIM and fill the required details over there.
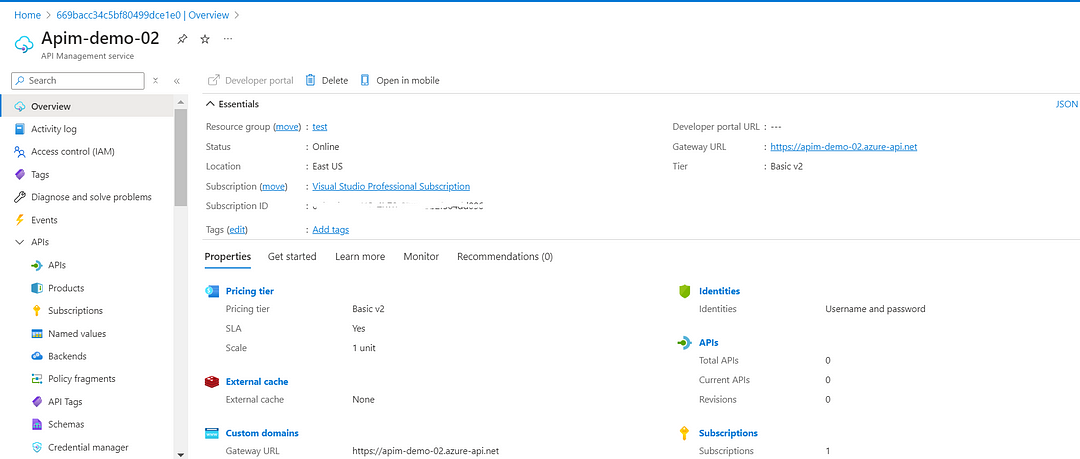
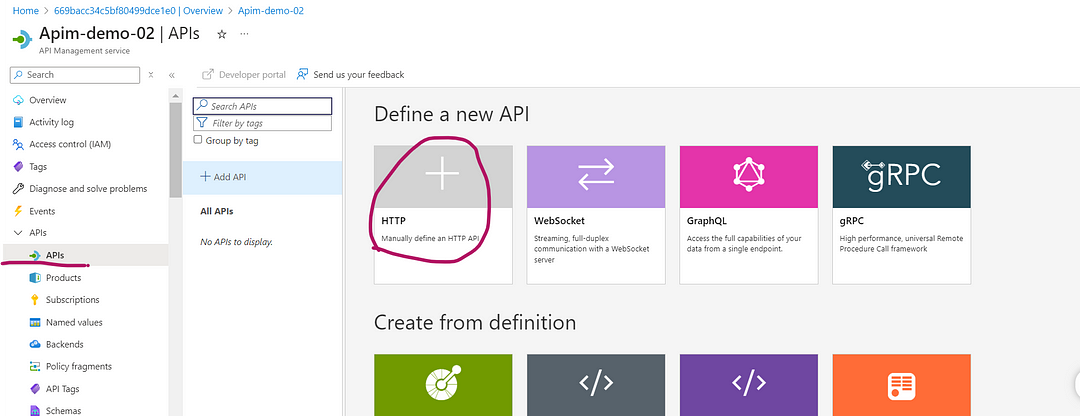
Open your APIM service and navigate to the “APIs” section.
I am currently in the process of creating an HTTP API, so I have chosen this.
Now only fill the required details.

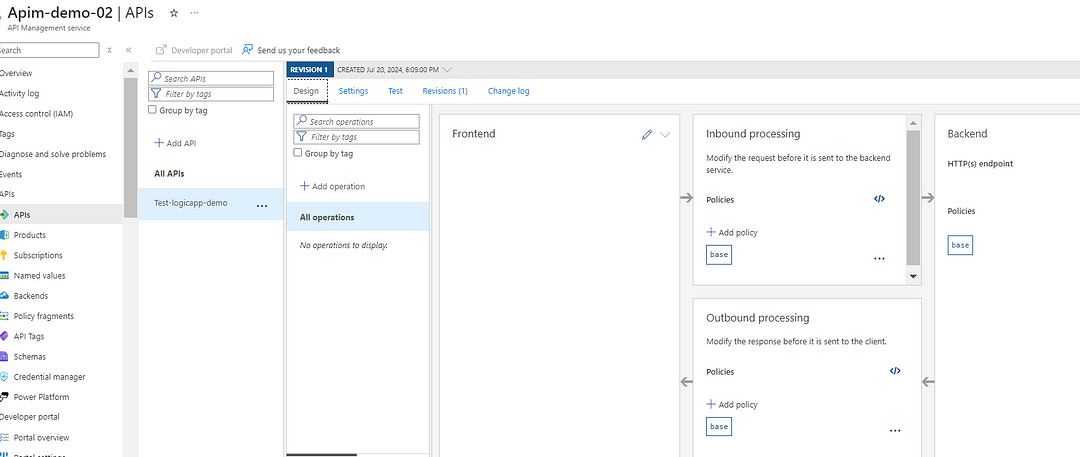
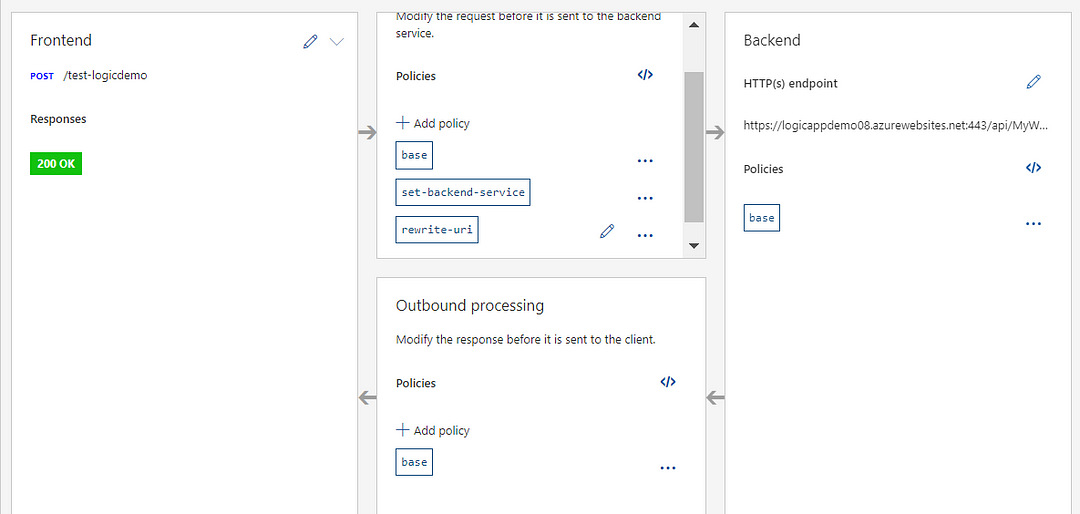
After creating the API add the operation like which type of operation you want. You can add multiple operations for each API.
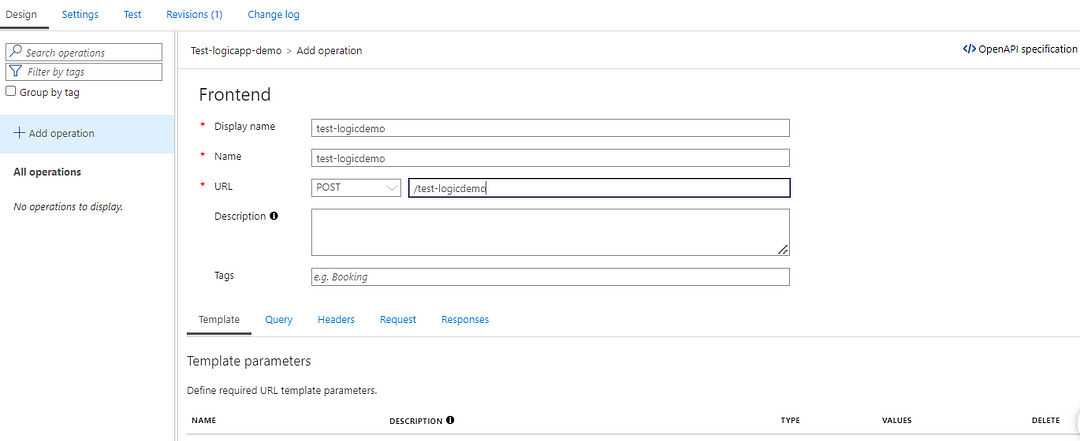
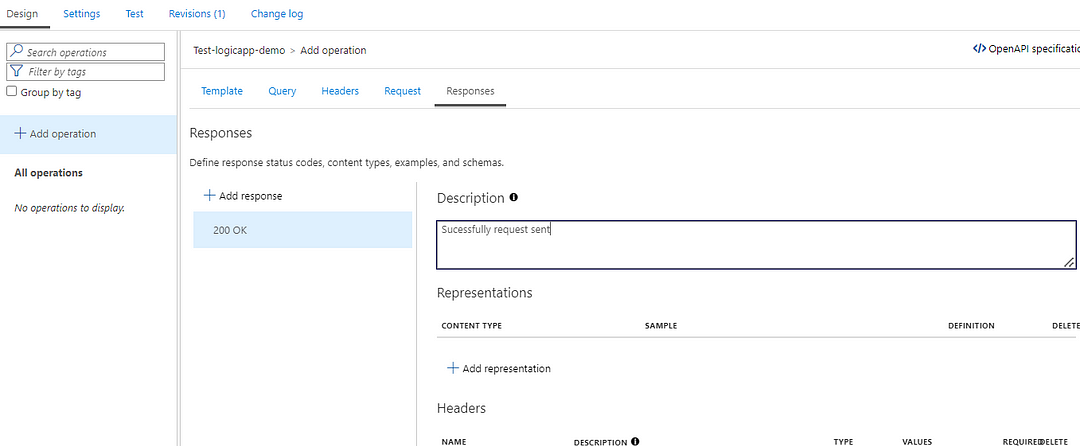
After adding new operation it will look like this :
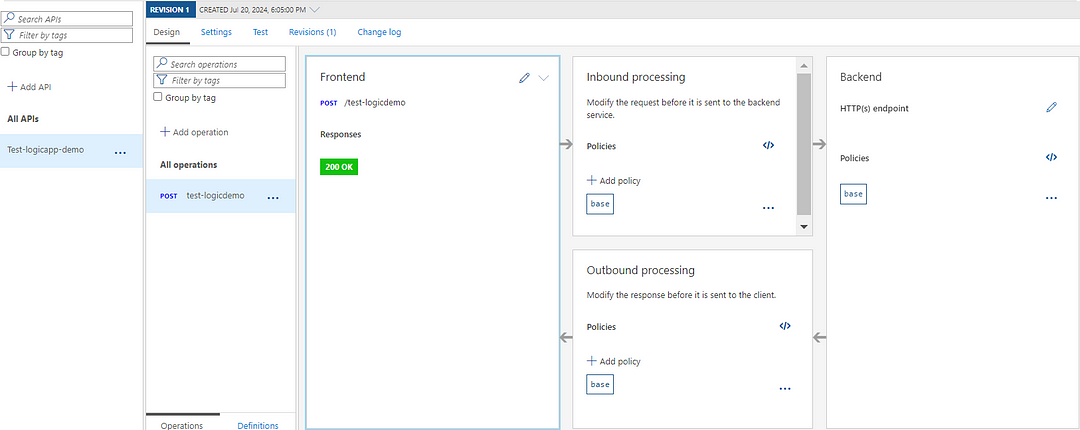
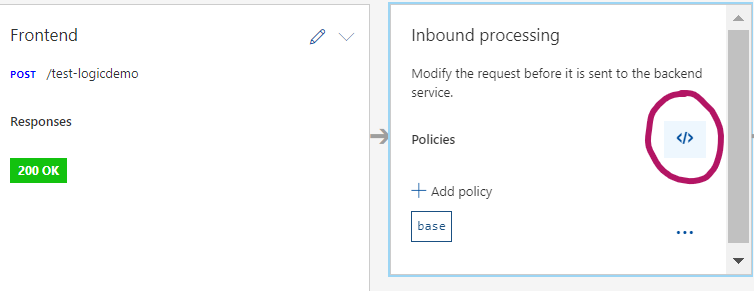
Now, go to the Inbound processing and add the policies. I am adding here the URL of my workflow which I created.
Suppose your workflow URL is in below format.
https://prod-00.westus.logic.azure.com:443/workflows/xxxxxxxx-xxxx-xxxx-xxxx-xxxxxxxxxxxx/triggers/manual/paths/invoke?api-version=2016-10-01&sp=%2Ftriggers%2Fmanual%2Frun&sv=1.0&sig=xxxxxxxxxxxxxxxxxxxxxxxxxxxxxxxxxxxxxxxSo, the format to add in the policies should be :
<inbound>
<base />
<set-backend-service base-url="https://prod-00.westus.logic.azure.com:443/api/workflows" />
<rewrite-uri template="triggers/xxxxxxxx-xxxx-xxxx-xxxx-xxxxxxxxxxxx/triggers/manual/paths/invoke?api-version=2016-10-01&sp=%2Ftriggers%2Fmanual%2Frun&sv=1.0&sig=xxxxxxxxxxxxxxxxxxxxxxxxxxxxxxxxxxxxxxxxxxxx" />
</inbound>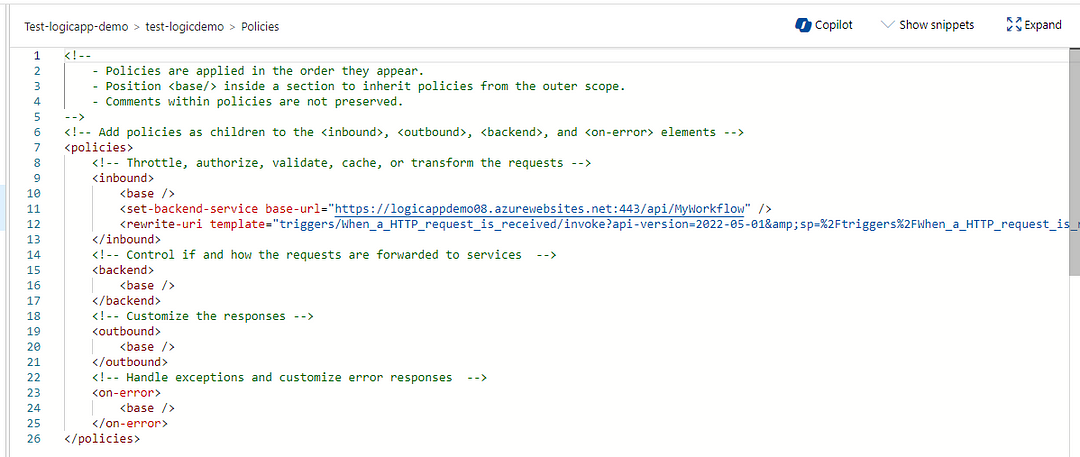
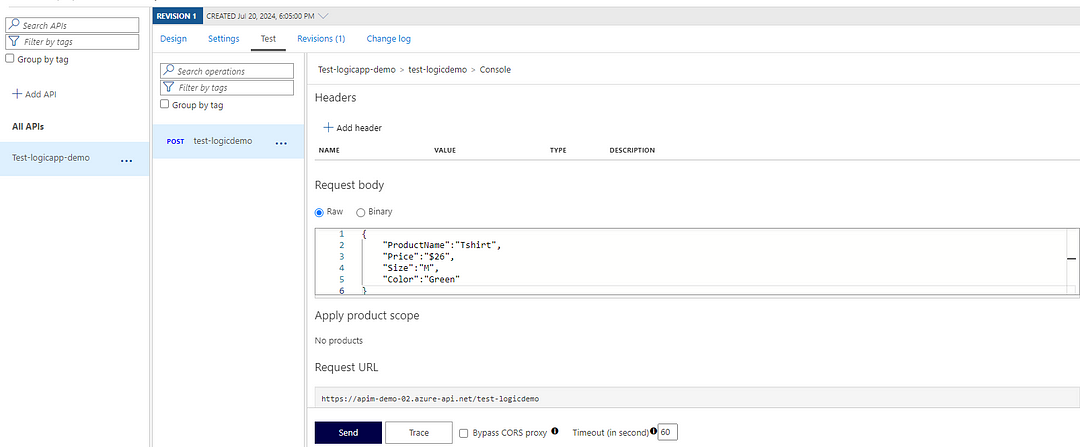
Step 6: Test the API
- Navigate to the “Test” tab of your API.
- Select the operation you created and provide any necessary parameters.
- Click “Send” to trigger the Logic App.
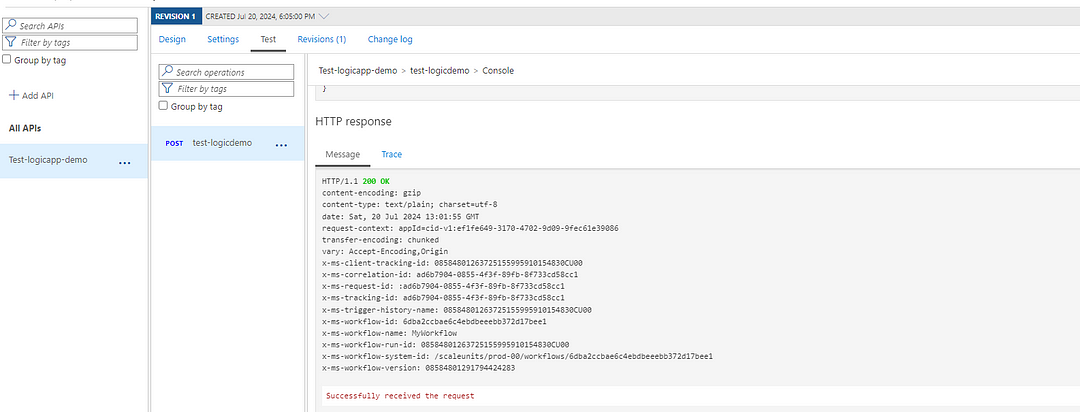
Conclusion
By following these steps, you’ve successfully configured APIM to trigger a Logic App. This setup not only enhances the security and manageability of your workflows but also leverages the full power of Azure services. Integrating APIM with Logic Apps opens up a world of possibilities for automating and streamlining your business processes.
Thanks for stopping by! Your visit means a lot. Please Follow me😊 Stay tuned for more content. Exciting stuff coming your way soon! 🚀 #StayTuned. Also, visit on RioTech.
Comments
Post a Comment