Hi Everyone! 😊👐🏻, I am back with another interesting content 😀today we will learn how to “Connect Azure Storage Account with the .NET”.
Azure Storage Account is a critical component for any cloud-based application, offering secure and scalable storage solutions. In this guide, we’ll walk you through the process of connecting an Azure Storage Account with a .NET application. Whether you’re building a web app, a desktop application, or an API, this tutorial will provide you with the knowledge you need to integrate Azure Storage into your project seamlessly.

Prerequisites
Before we begin, ensure you have the following:
- Azure Subscription: You’ll need an active Azure account. If you don’t have one, you can create a free account here.
- Azure Storage Account: Set up an Azure Storage Account. You can follow this official guide to create one.
- .NET SDK: Install the latest .NET SDK from the official .NET website.
- Visual Studio or VS Code: An IDE for writing and managing your .NET code.
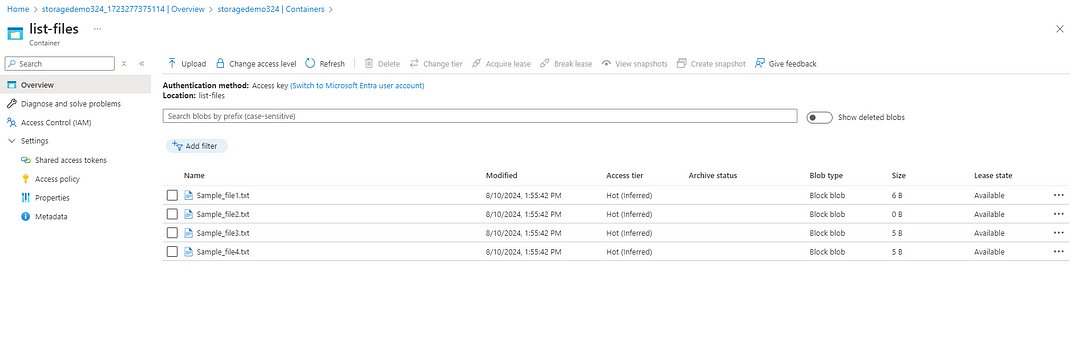
At first create a storage account in your Azure portal. Then create container and upload your list of files which you want to upload as per your project requirements.
Step 1: Install the Azure.Storage.Blobs Package
To work with Azure Storage in your .NET application, you need to install the Azure.Storage.Blobs NuGet package. This package provides the necessary libraries to interact with Azure Blob Storage.
Run the following command in your terminal or Package Manager Console:
dotnet new mvc
dotnet add package Azure.Storage.Blobs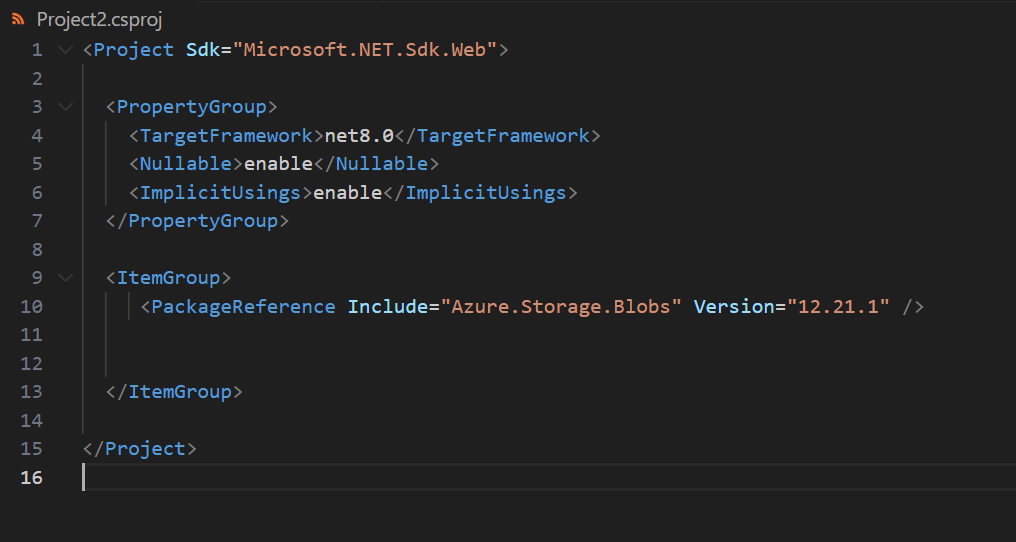
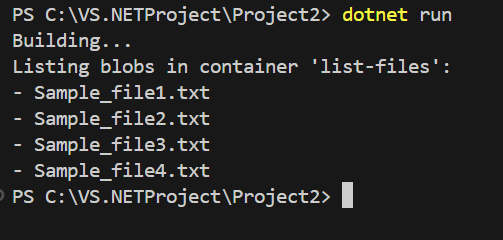
Then in the program.cs file I wrote the below code which will give me the list of filenames which I uploaded in the container.
using System;
using System.Threading.Tasks;
using Azure.Storage.Blobs;

class Program
{
    private const string connectionString = "<Your_connection_string>";
    private const string containerName = "<Your_Container_Name>";

    static async Task Main(string[] args)
    {
        // Creating a BlobServiceClient to interact with the Blob service
        BlobServiceClient blobServiceClient = new BlobServiceClient(connectionString);

        // Creating a BlobContainerClient to interact with a specific container
        BlobContainerClient containerClient = blobServiceClient.GetBlobContainerClient(containerName);

        // Ensuring the container exists
        await containerClient.CreateIfNotExistsAsync();


        Console.WriteLine($"Listing blobs in container '{containerName}':");
        await foreach (var blobItem in containerClient.GetBlobsAsync())
        {
            Console.WriteLine($"- {blobItem.Name}");
        }
    }
}
So, as a output its showing as aspected.
Conclusion
Connecting Azure Storage Account with .NET is a powerful way to leverage cloud storage in your applications. By following the steps outlined in this guide, you can efficiently manage and interact with your Azure Storage resources.
Thanks for stopping by! Your visit means a lot. Please Follow me😊 Stay tuned for more content. Exciting stuff coming your way soon! 🚀 #StayTuned. Also, visit on RioTech.
Comments
Post a Comment