
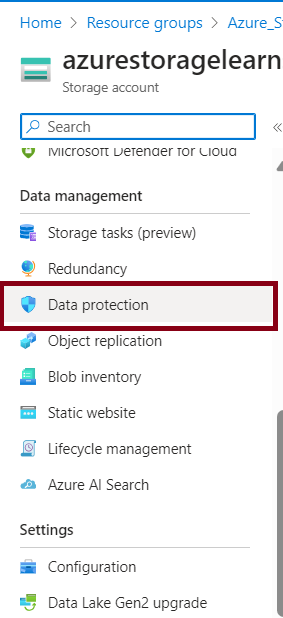
Hi everyone!👋So, Today we will see how to change the blob version in Azure storage. Azure Storage can automatically version Blobs for you. Let’s see how that works. So first you have to create your storage account. Then after successfully creating a storage account, we have to go to “Data protection” under the Data Management section.
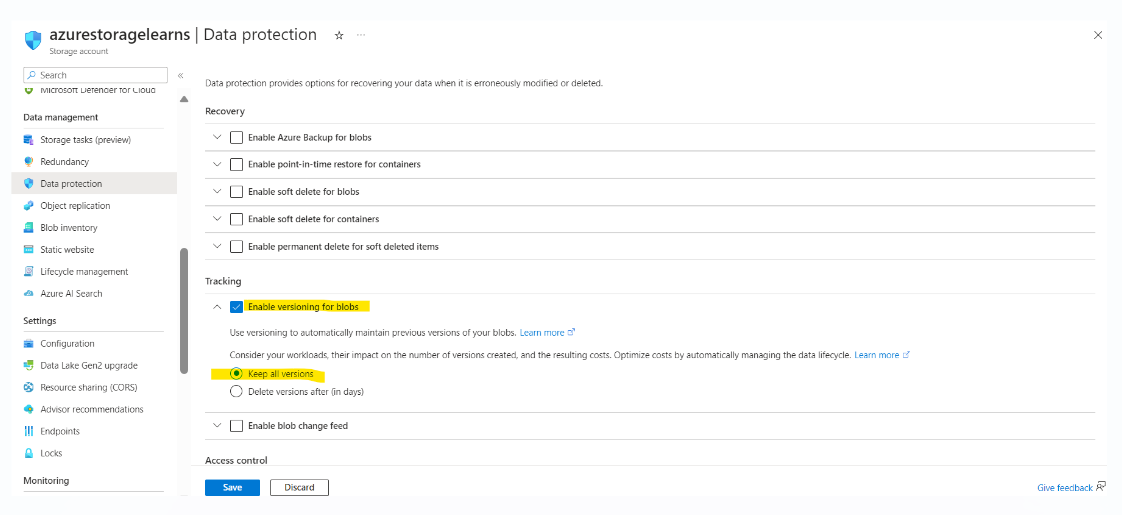
Now enable “Enable versioning for blobs” and select “Keep all versions” and now select save.
Now then go the Data storage account and inside this click “Containers” and then create new Container and give the name as per your choice.

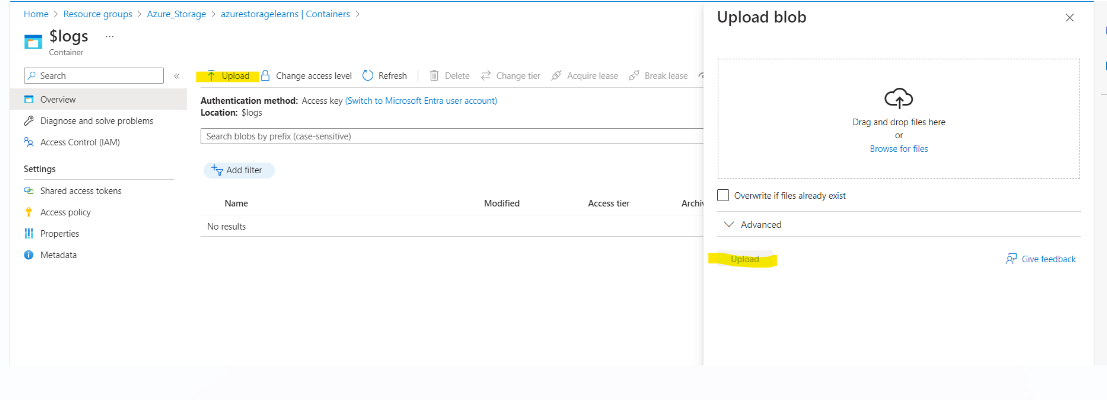
Then in your local create one text file and write whatever you want. Then upload inside your container.
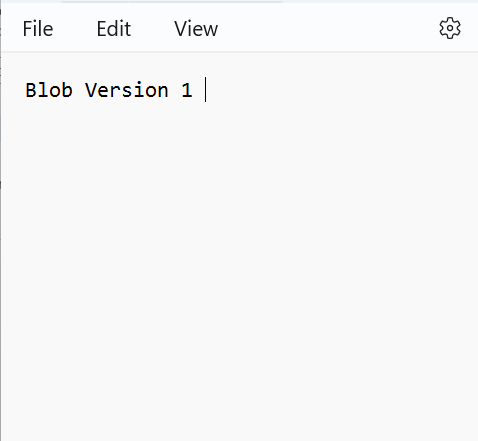

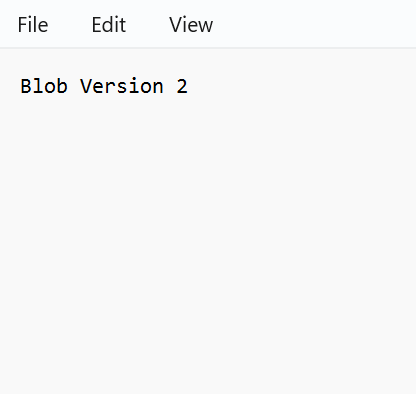
Now modify your existing Text file in your local and save it.
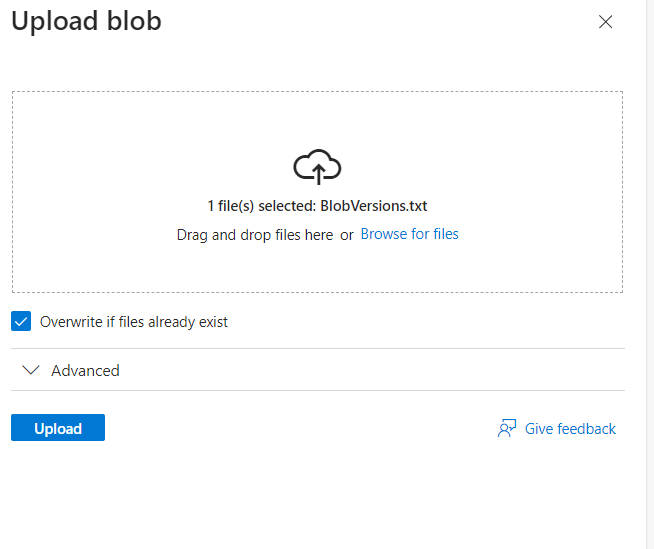
Now enable “Overwrite if files already exist” and then click upload.
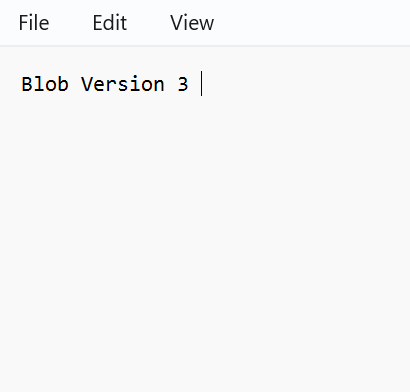
Now again modify your file and shave it in your local. And follow the same process as above uploading the latest modified files.
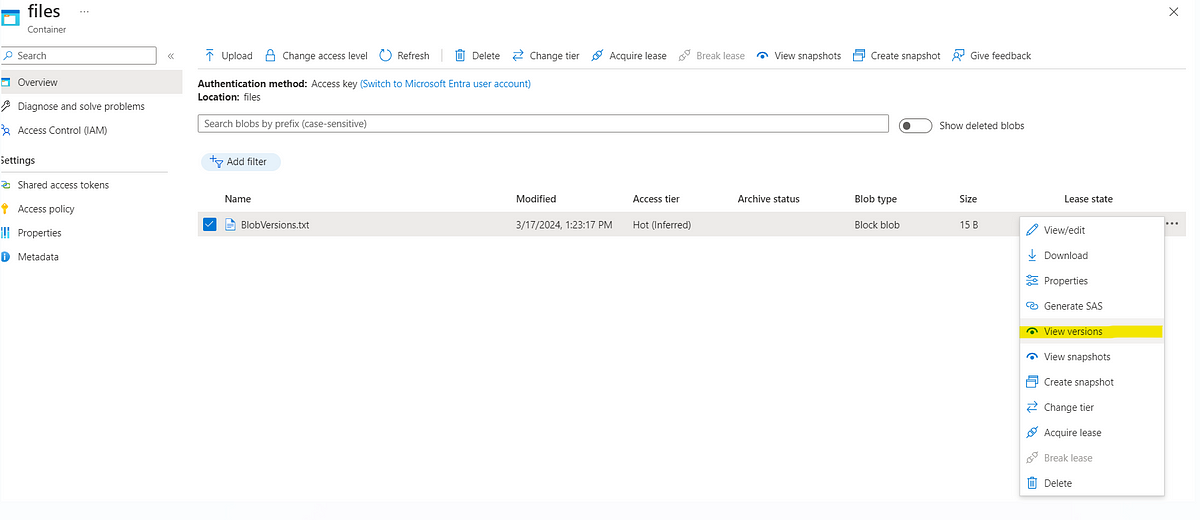
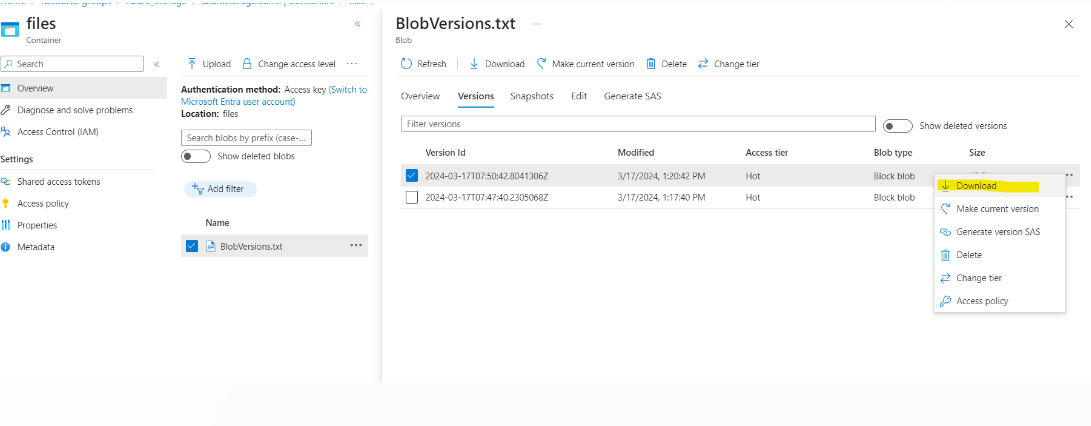
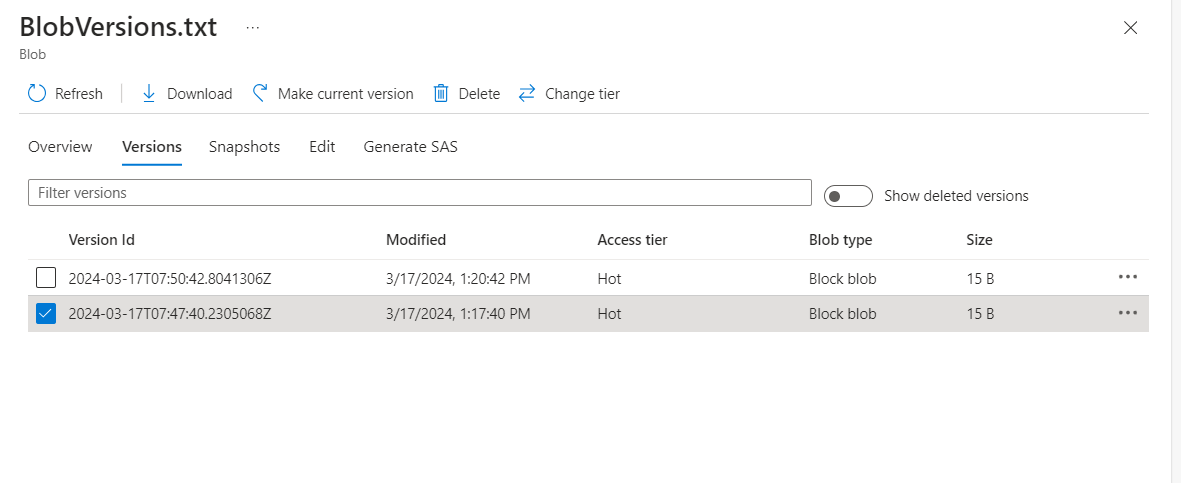
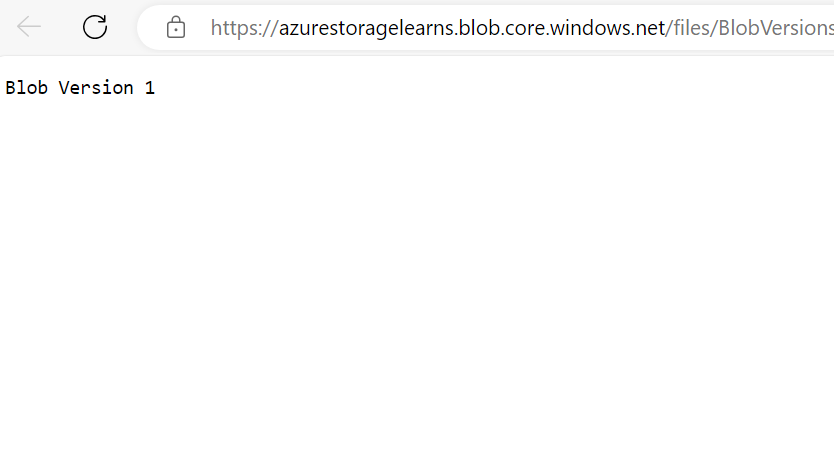
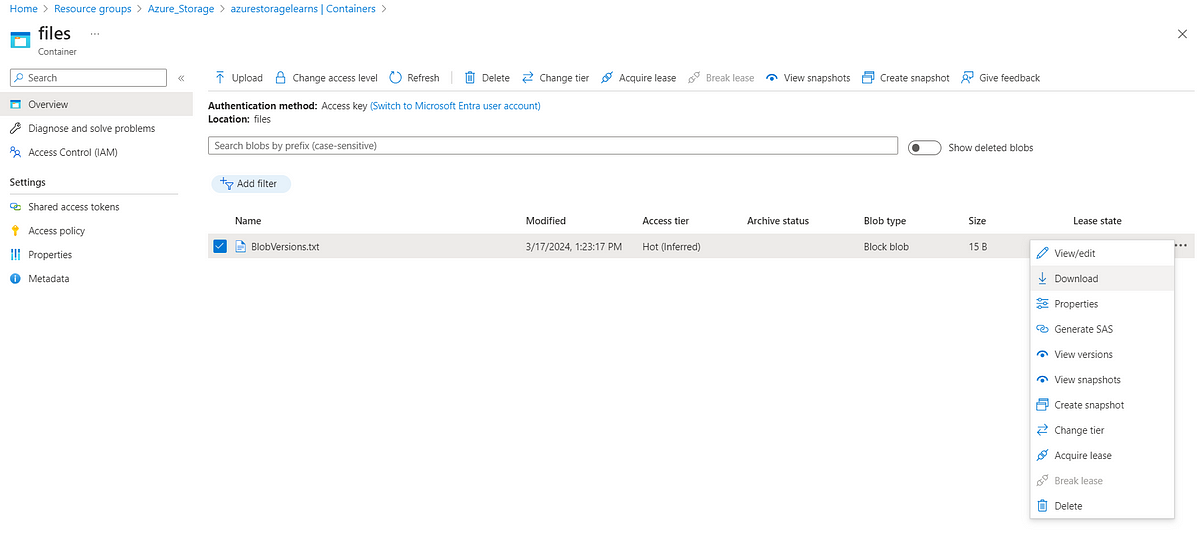
Click on “View versions” and download the files and you will be seeing your latest and previous data which you had put in your file.


Thanks for stopping by! Your visit means a lot. Please Follow me😊 Stay tuned for more content. Exciting stuff coming your way soon! 🚀 #StayTuned. Also, visit on RioTech.
Comments
Post a Comment